
Welcome back everybody! We are so happy to be back in the shop creating and learning. The first week was a bit of a whirlwind, but students were jumping back into their groove an moving forward on their projects.
This year we will focus on just one student each week and go over their work. We will also try to include a short video of the student describing their current work. Our first volunteer is Senior Adam Sayres ’27.
Adam’s latest blog post:
It’s been a busy first week back in shop! Most of the time has been spent helping set up machines for the rest of the year. I started out with the 3D printer which wasn’t working because there was filament stuck inside. When filament sits for a long time it can get brittle and therefore breaks very easily. To fix this I took apart the filament holder so I could remove the broken pieces from the PTFE tube.
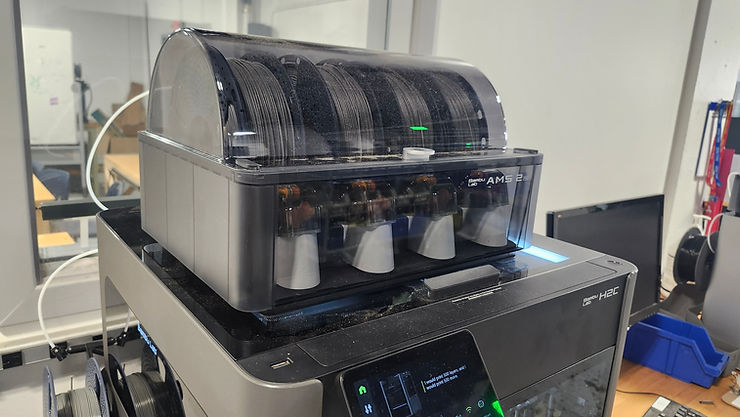
The next step was to oil up the rods and screws to ensure the build plate was moving smoothly. After this when testing I found two more issues. One of them was the PTFE tube on the back which feeds filament into the printer was two small and the filament would get caught inside. I recommended to Mr. L that he buy some more tube so there could be a longer piece back there. The other issue was that the rack for switching different sized extruders was getting caught on the build plate when moving. This was a simple issue as all I did was clean it and it fixed the problem.
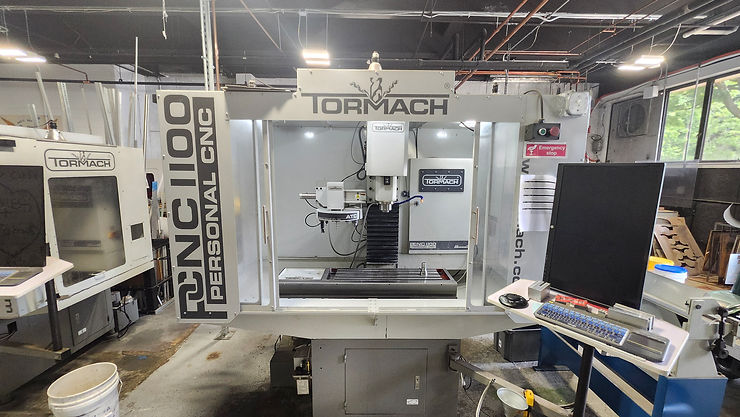
The other thing I did to help set up was indicating the mills. This process requires meticulously tapping the vices into place. If the vices are not perfectly parallel then it will mess up any operation that is being done. The CNC mills were easier as the vices have knobs on the bottom to help guide it. The manual mill does not have this, so it required more work to get it correct. I managed to finish that in about a class period on Thursday so I had time to look over my projects from last year and see what needed dto be finished.
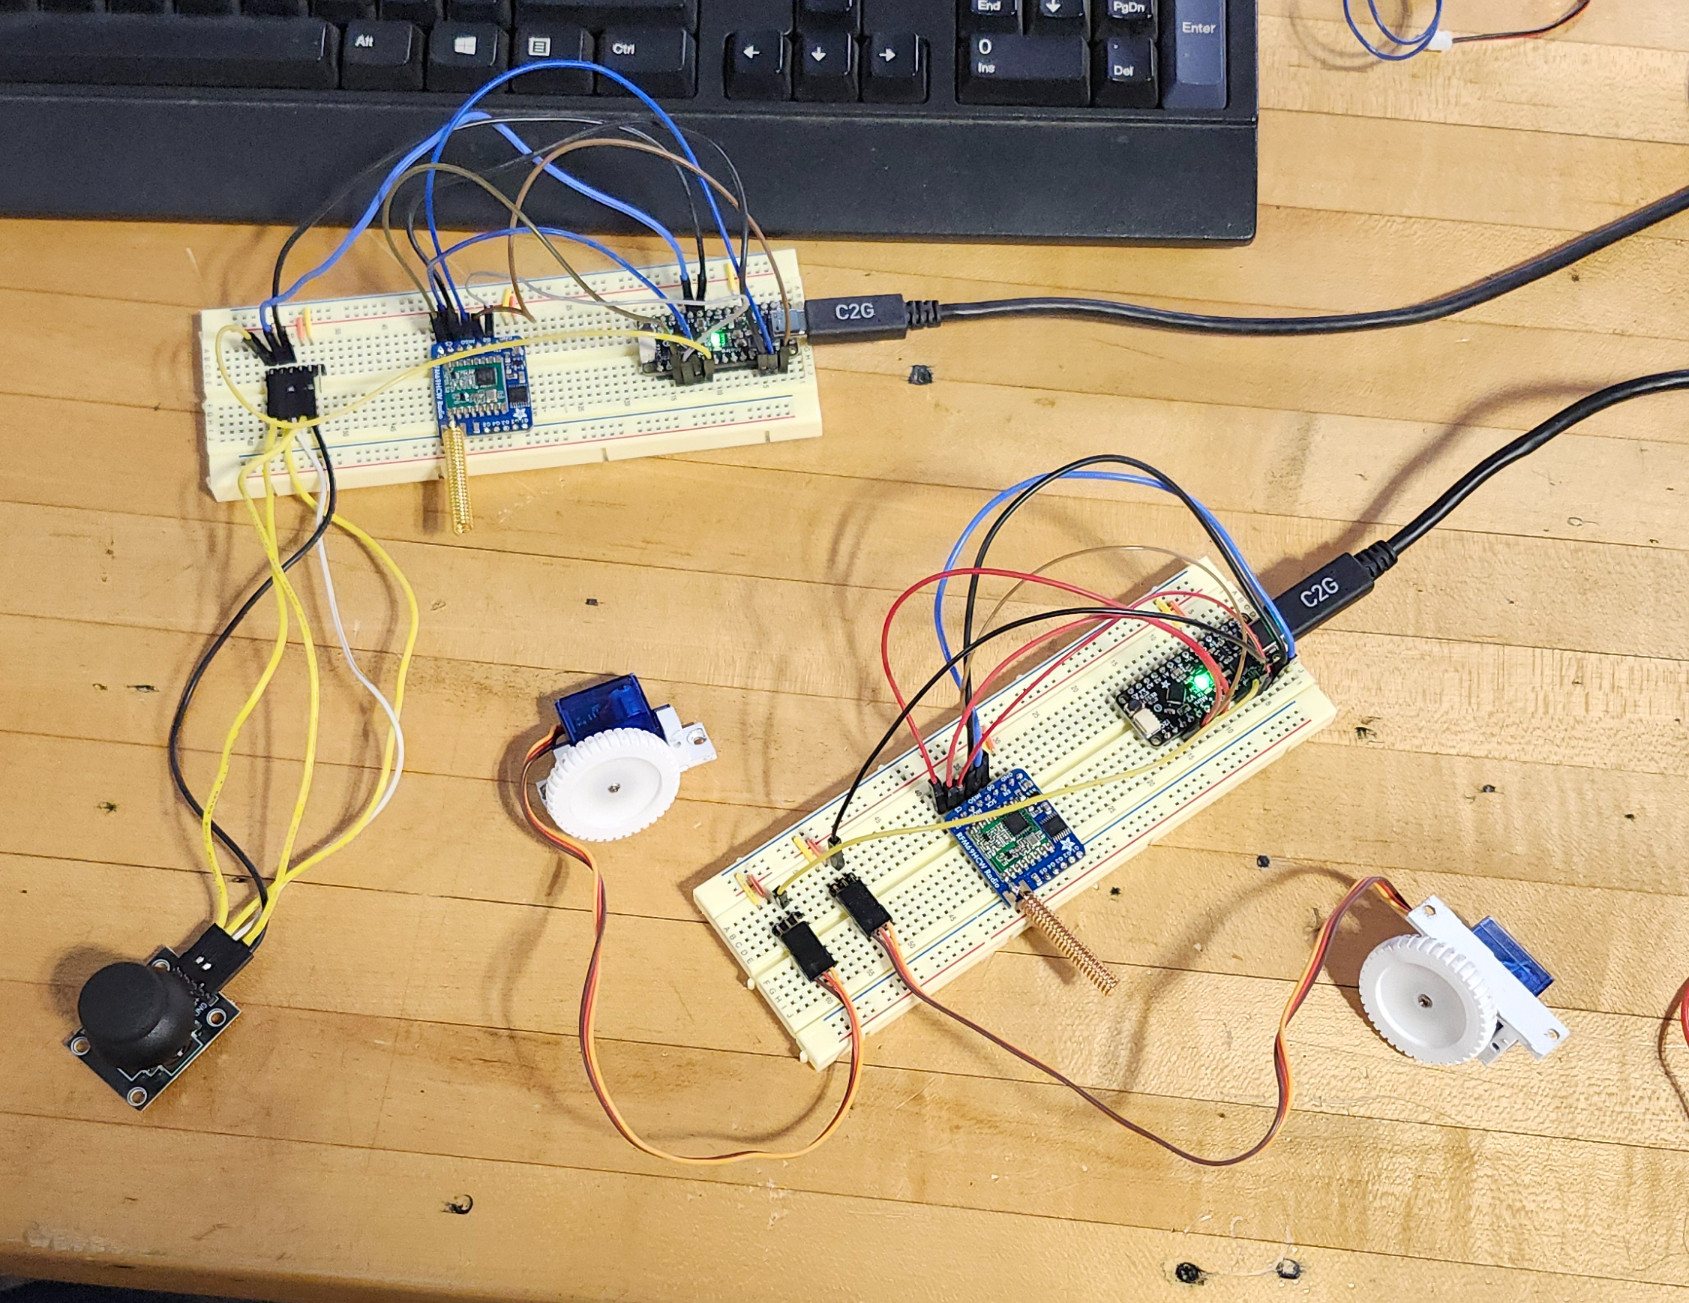
I decided it would be a good idea to finish the mini R2D2 that I had started last year. I had taken a break to work on other projects and get more time in the machine shop. The first thing I did was test to make sure the code was still working. The joystick for controlling the two wheel motors was working fine, but the one to control the servo in the head was not. I asked Copilot to give me some troubleshooting ideas and it suggested that since the servo was connected to digital pin 6 on the Metro Mini it might be getting interrupted. Keeping that in mind I changed the pin to digital pin 5 and the servo then worked as expected. Since all of that is in order the next step is to create the PCB for the receiver that goes inside of the R2. Once all of that is working then I can focus on creating a remote control.
See more of Adam’s work at this link.
 MVTHS Engineering