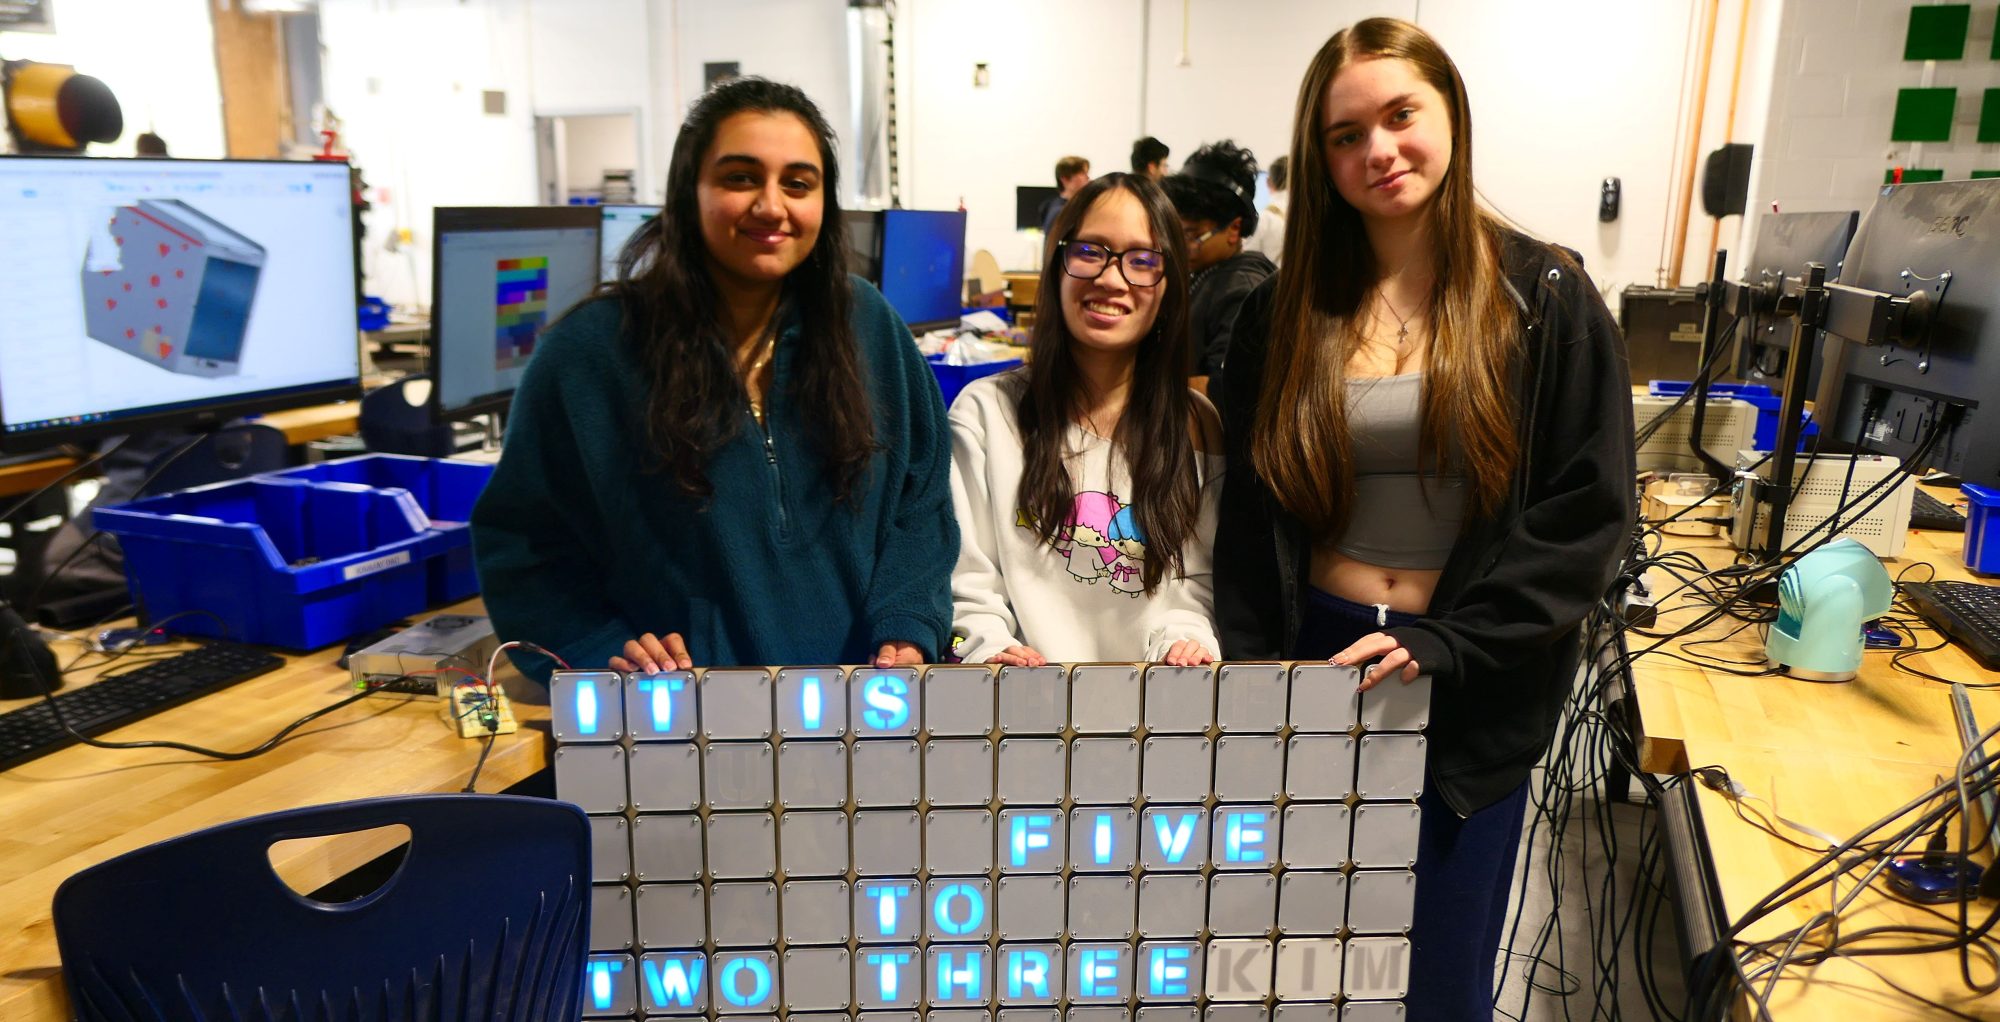
We now have a full house of students each day in the shop. With the arrival of our Freshmen class last week, we have 11 new students starting the process of becoming future engineers! That brings our total enrollment to a staggering 44 students! We are grateful to be able to teach so many outstanding students.
This week Senior Nate Matarazzo was working on an electronic lock box:
This week I got some more work done on my lock-box/safe project. Firstly, I finished doing the code for it. Seen below is some of this code. To start off, the code was particularly challenging, since this week, I decided to switch from a 4×4 button keypad matrix to a 3×4 button keypad matrix. Subsequently, there was a bunch of code that I had to modify in order to change it from 4×4 to 3×4. However, this proved to be more challenging than I originally anticipated. The pinout for the 4×4 makes perfect sense, with the first 4 pins correlating to the first 4 columns, and the last 4 pins correlating to the last 4 rows. However, the pinout for the 3×4 is completely random, with no clear pattern to the pinout at all. Subsequently, I had to modify the code quite a bit to account for this sudden change in values, and through trial and error, I was able to finish the code part of the circuit.
Next, I had to work out how I could use transistors to make the solenoid work properly. With the help of Mr. Christy, one of my shop teachers, I was able to successfully implement a transistor into my design, and now when someone inputs the correct combination, it powers a 5v solenoid lock, and turns it on, which is something that I can use for unlocking the door to the safe.
Then I began to design the safe in Fusion 360. I began designing on Tuesday, but my week was cut short since Wednesday was a half-day and we had gym, so I was only in shop for one period. Also, Thursday was a snow day, so we didn’t have school. I am nearing the end of the CAD process, and I will soon begin designing and making the PCB for the circuit and lock.
Learn more about this project at Nate’s website, linked here.
Junior Reid Pacini is creating a custom frame for a record sleeve:
This week I continued working on my frame project. I decided on which design I wanted to use at the start of the week. I then lasercut the outermost layer of the frame. Once I had that, I brought the print I am going to be framing into the shop. Unfortunately I overestimated how big it would be and made the frame too big. The frame was about an inch too big on all four sides. I spent a good amount of time figuring out the measurements and what I needed to change in order to get the frame to be the right size for the print. I also needed to adjust the filets on the corners of the frame in order to fit the print.
I spent the second half of the week measuring and readjusting the frame. I made the sizes smaller, allowing the print to fit. I also made the frame thinner on top and bottom because I realized that the sides were thinner than the top on bottom on the cardboard as you can see to the right below. On Thursday I was able to cut out a cardboard version of the frame with new measurements which you can see above. As you can see it fits the print much better which will help hold it in place. Next I would like to cut out the back where the frame will hang from to make sure that it will hang well.
See more of this project at Reid’s website, linked here.
Our Sophomores are nearly done with their LED Lightboxes. We will have some photos of all their wonderful work after the break!
All for now.


You must be logged in to post a comment.