
Students were hard at work this week with some amazing projects continuing. Hard to believe we are already in the middle of March, and still our students continue to power through so many incredible projects. Here are a few highlights.
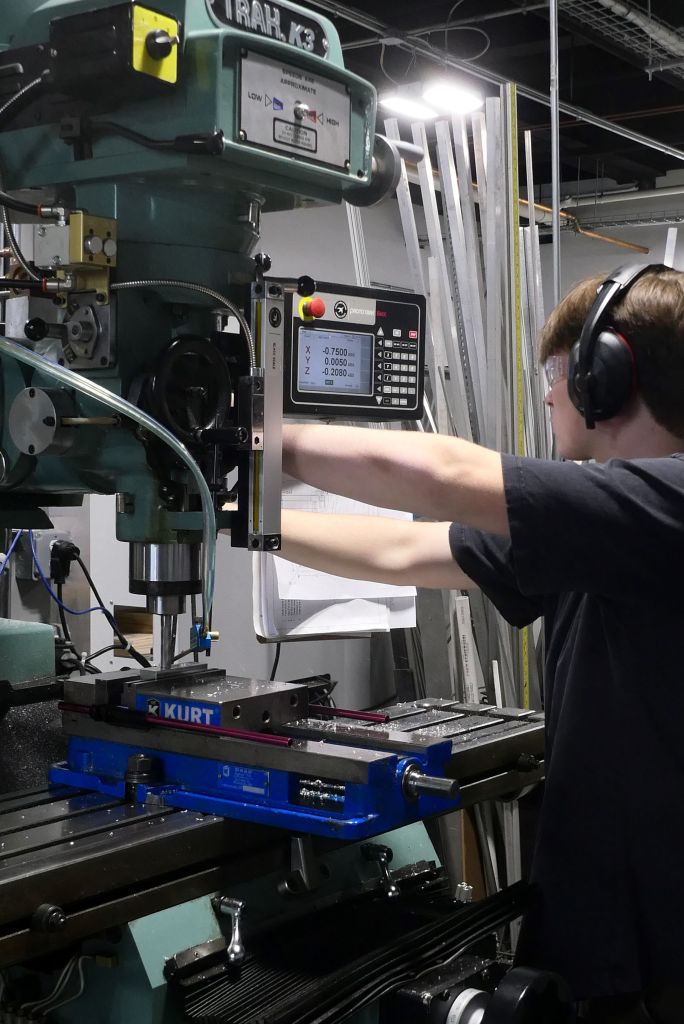
Senior Euan Rees is making more progress on the 6 wheeled rover:
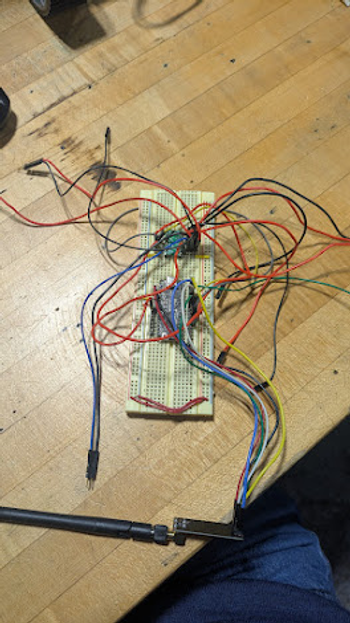
This week I was able to complete a lot of work on the PCB. At the start of the week I finished up the design for my PCB. I added in all of the necessary components for the receiver, motors, motor driver, and battery. Once this was complete, I moved onto routing the PCB connections. At first, the design was not working, however after adjusting where all of the components were, while still maintaining optimal positions for connection points, I was able to get it fully routed and ready to be cut out.
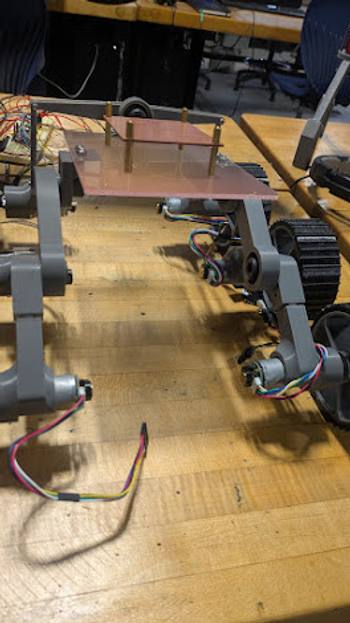
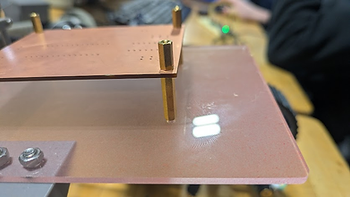
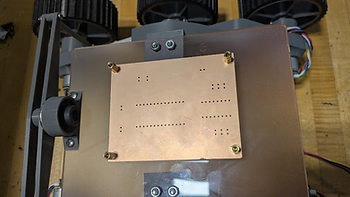
Once transferring my file to the mill, I had to quickly reteach myself on how to properly cut out the design. However this did not take long. After waiting for 20 minutes, my board was done cutting. This initial board cut was mainly to ensure that all connections were sound, and it would be fine to be outsourced to a 3rd party to cut. After this was done I next designed a new main body piece with a place to mount the PCB to. Once I was finished designing it, I cut it out on the laser and attached standoffs to the acrylic and PCB. Finally after finishing this, I dismounted the old Acrylic piece and attached the new body with the PCB on it, and it turned out great.
See more of Euan’s work at this link.
Junior Quinn Dufour was helping one of his academic teachers with a project:
This week was tedious as it was a lot of testing as well as sanding pieces. As there isn’t much to explain I will take this time to also explain the project. I am making puzzle pieces for my physics teacher to show how quarks fit together to create particles. Quarks are, as far as we can tell, the most fundamental of particles, making up things like protons, neutrons, and photons. They are extremely important to understanding particle physics


I spent a while at the laser cutter at the start of this week. I was cutting out size tests for what the folder of files calls “workbenches” which need to hold the pieces in place but also can’t be too tight so quarks can be easily switched out. Since I was at the laser cutter I also cut out a piece for Lila while she was at another class. The workbenches show which pieces of the quarks fit together and provide a shape to make it easy to visualize.


I spent much of the rest of the week sanding the edges of the pieces lightly. I need to be careful to not deform the shape while still softening the edges. I had noticed that the lettering on my pieces wasn’t particularly easy to read, so I wanted to find a way to color them in. This would also help with the fact that quarks have three colors which help inform how they bond. I tried a few methods of painting them with varying brushes and water content. I couldn’t find a brush that was small enough unfortunately, though I may try using toothpicks. I also found a method that may allow me to remove extra paint. I prepped two new pieces for this method by spraying them with a sealing substance and let it dry overnight.

See more of Quinn’s work at this link.
Sophomore Ibrahim Ahmad was putting the finishing touches on the LED Lightbox Project:
Intro
This week was all about bringing the design to life. I milled the final PCB, soldered all the components, and 3D printed the enclosure. Everything came together nicely—the tray, the box, the magnets, and the electronics all fit as planned.
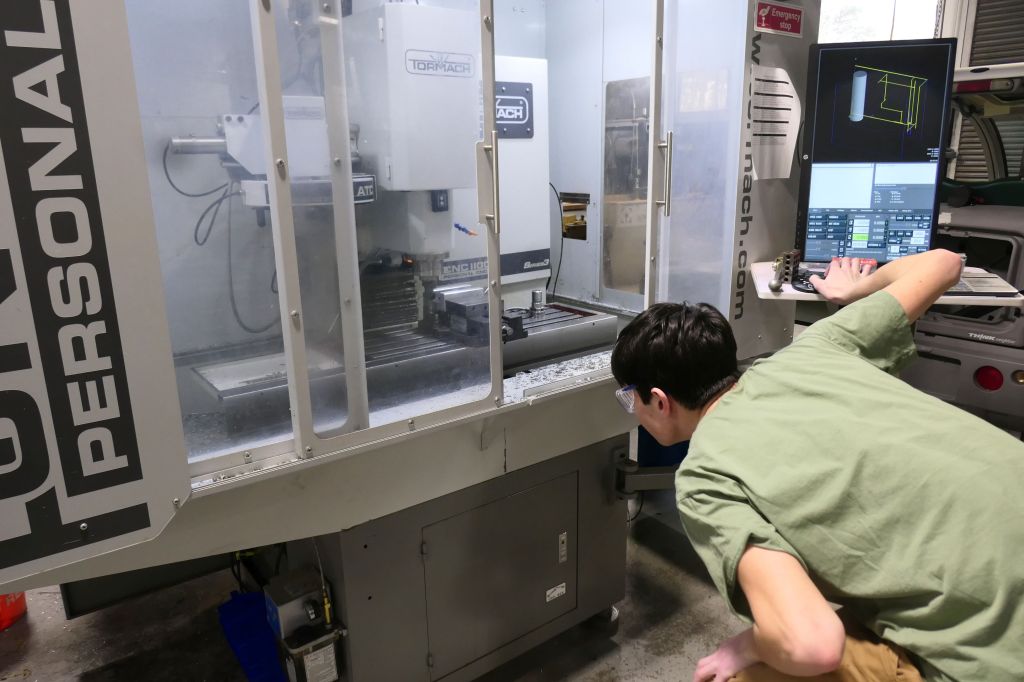
Milling and Soldering the PCB
I started by milling the PCB on the CNC. Once it was cut, I superglued all the headers into place to hold them steady, then soldered everything down. After soldering, I ran a quick test and it all worked first try.
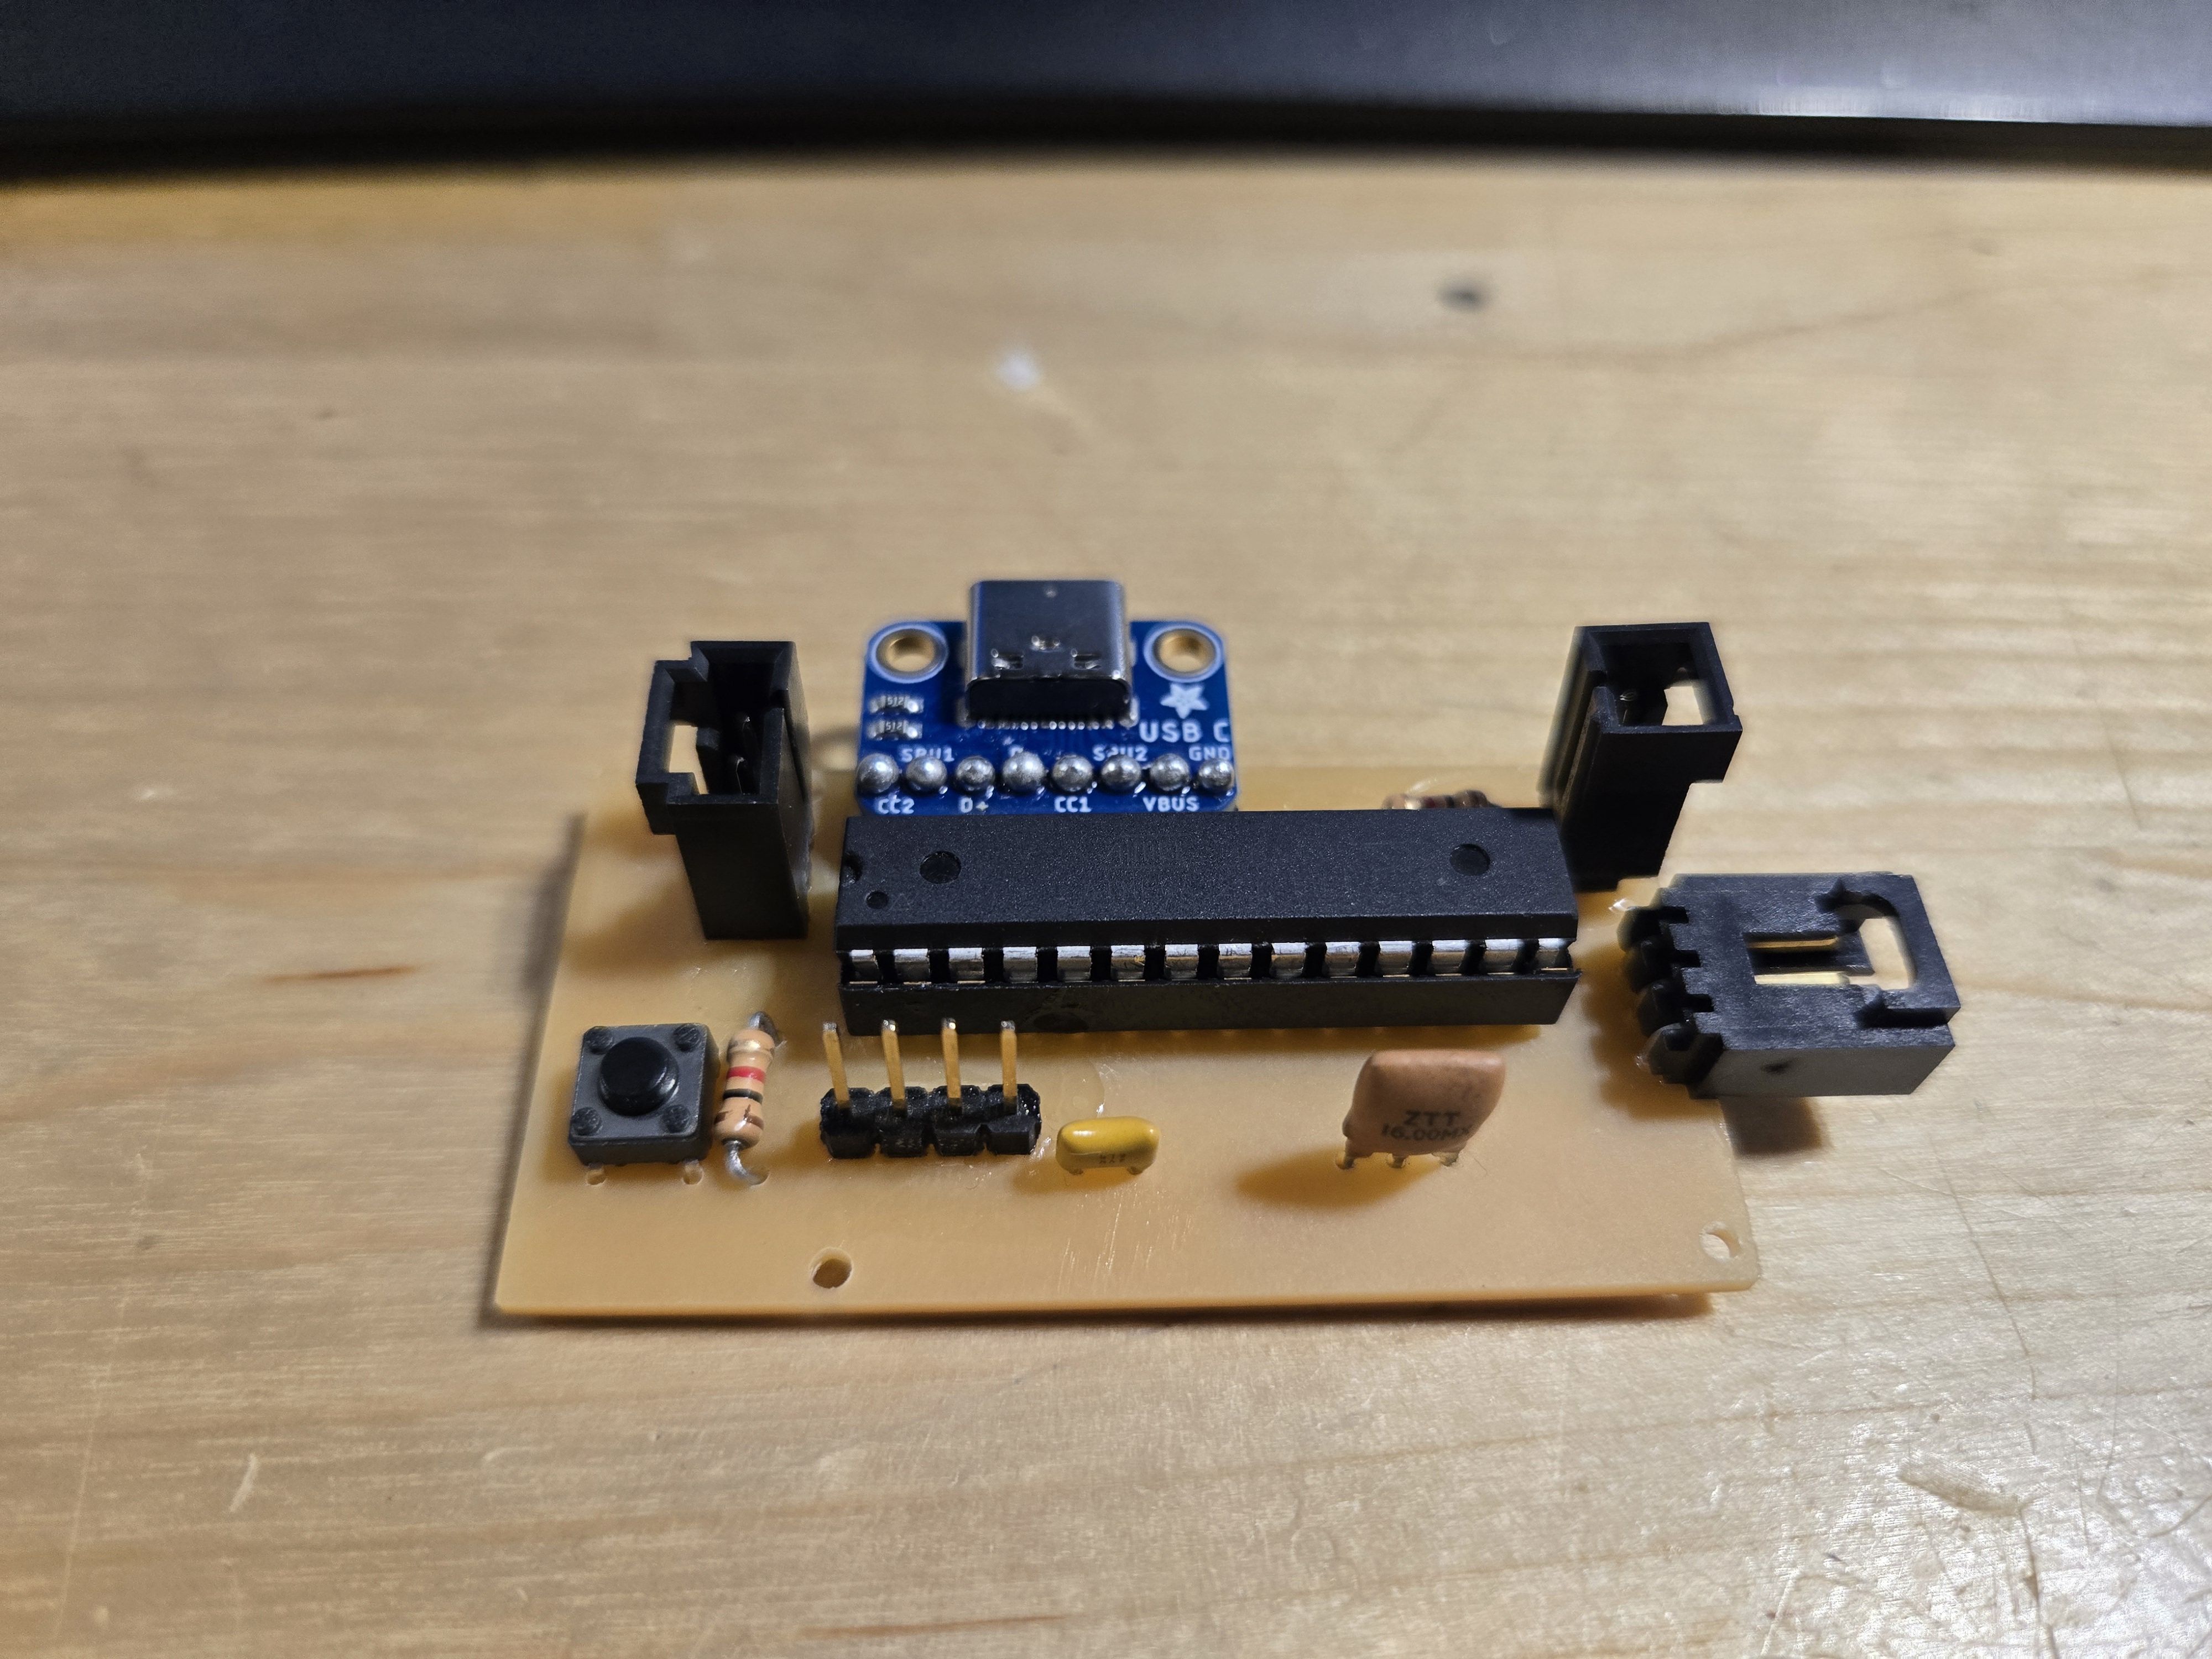
The fully soldered PCB with all components mounted.
I also wired up the LED strip and toggle switch. The toggle switch controls power to the LEDs, keeping the circuit simple and functional.
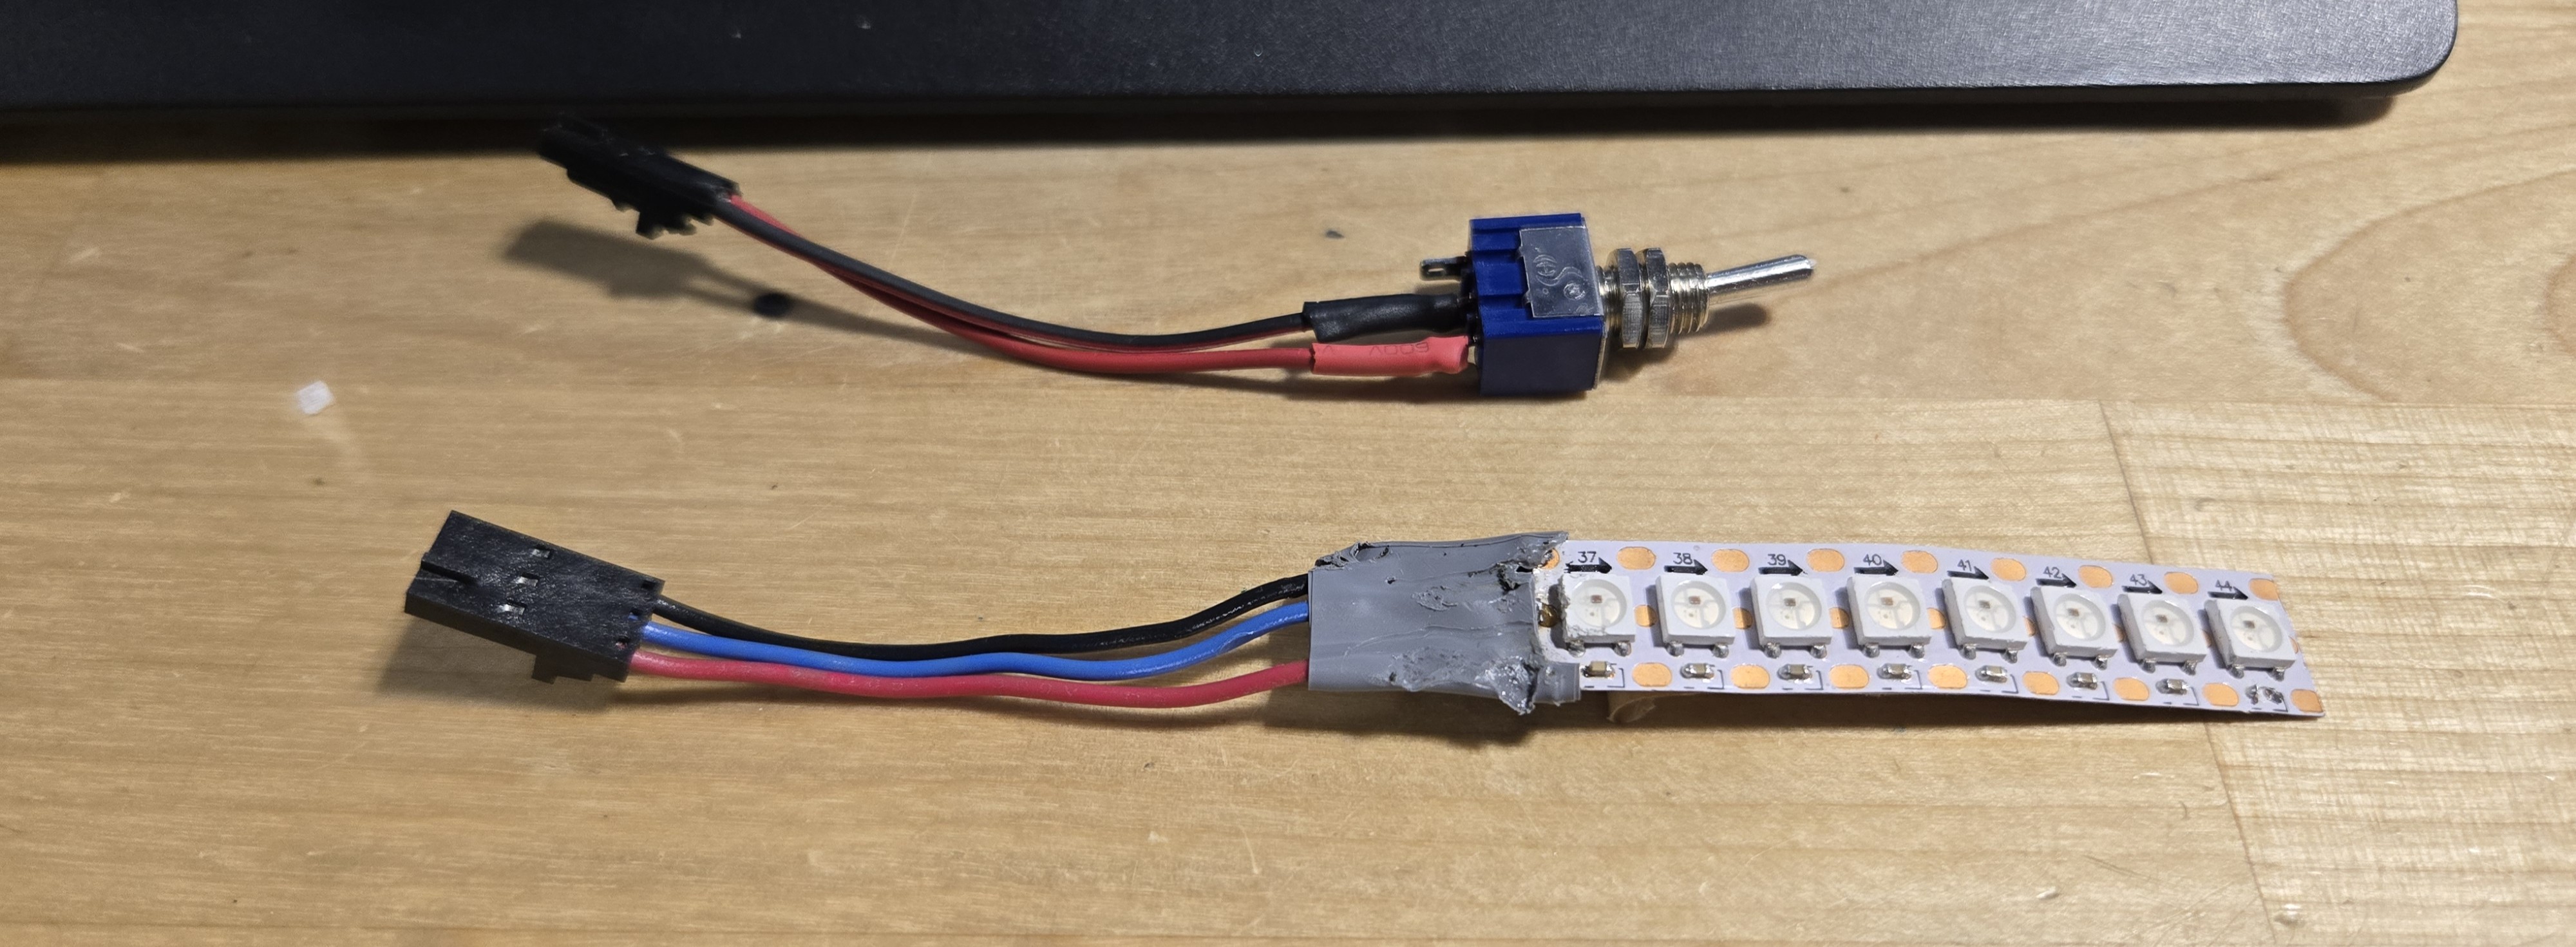
LED strip and toggle switch wired up and tested.
3D Printing the Enclosure
The tray and box both printed cleanly. The fit between them is snug and everything lines up as it should.
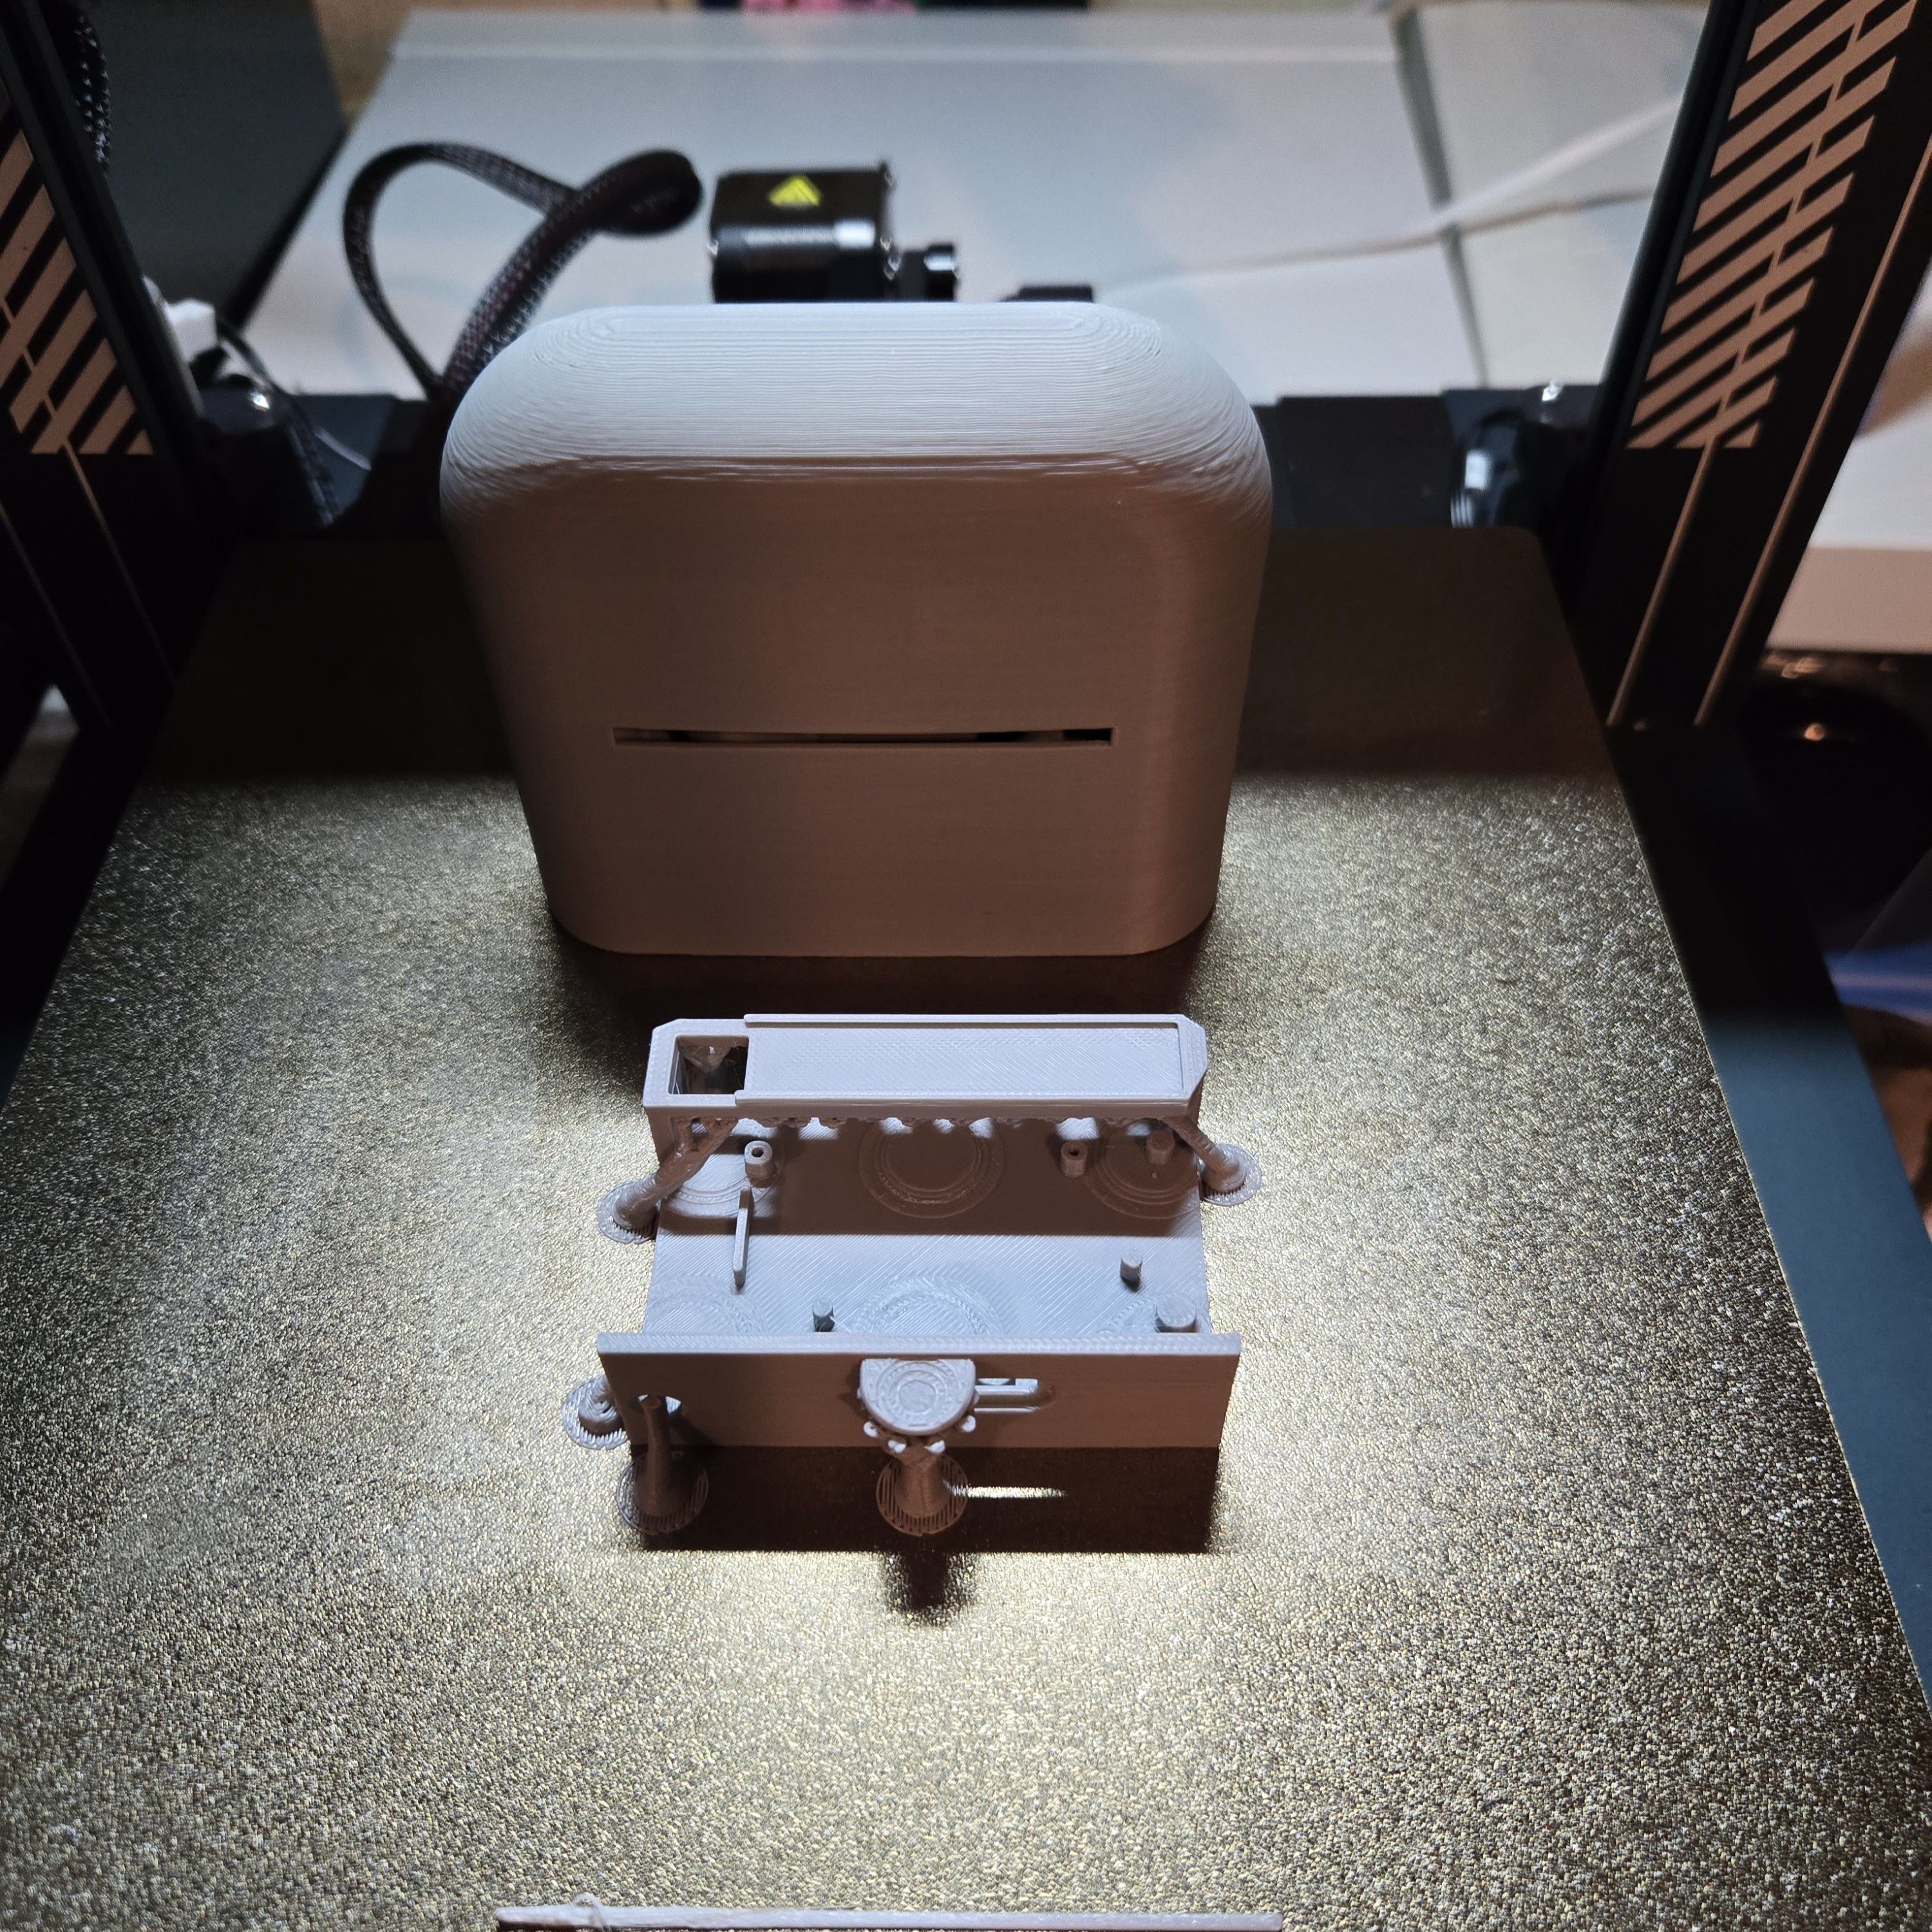
Freshly printed enclosure parts.
Fitting the Electronics
I placed the PCB into the tray and it fits perfectly. The only issue was that some of the connectors made the board a bit too long for the tray, so I had to trim a few pins and bend others to make everything sit flush. The LED strip slots right onto the tray without any problems.
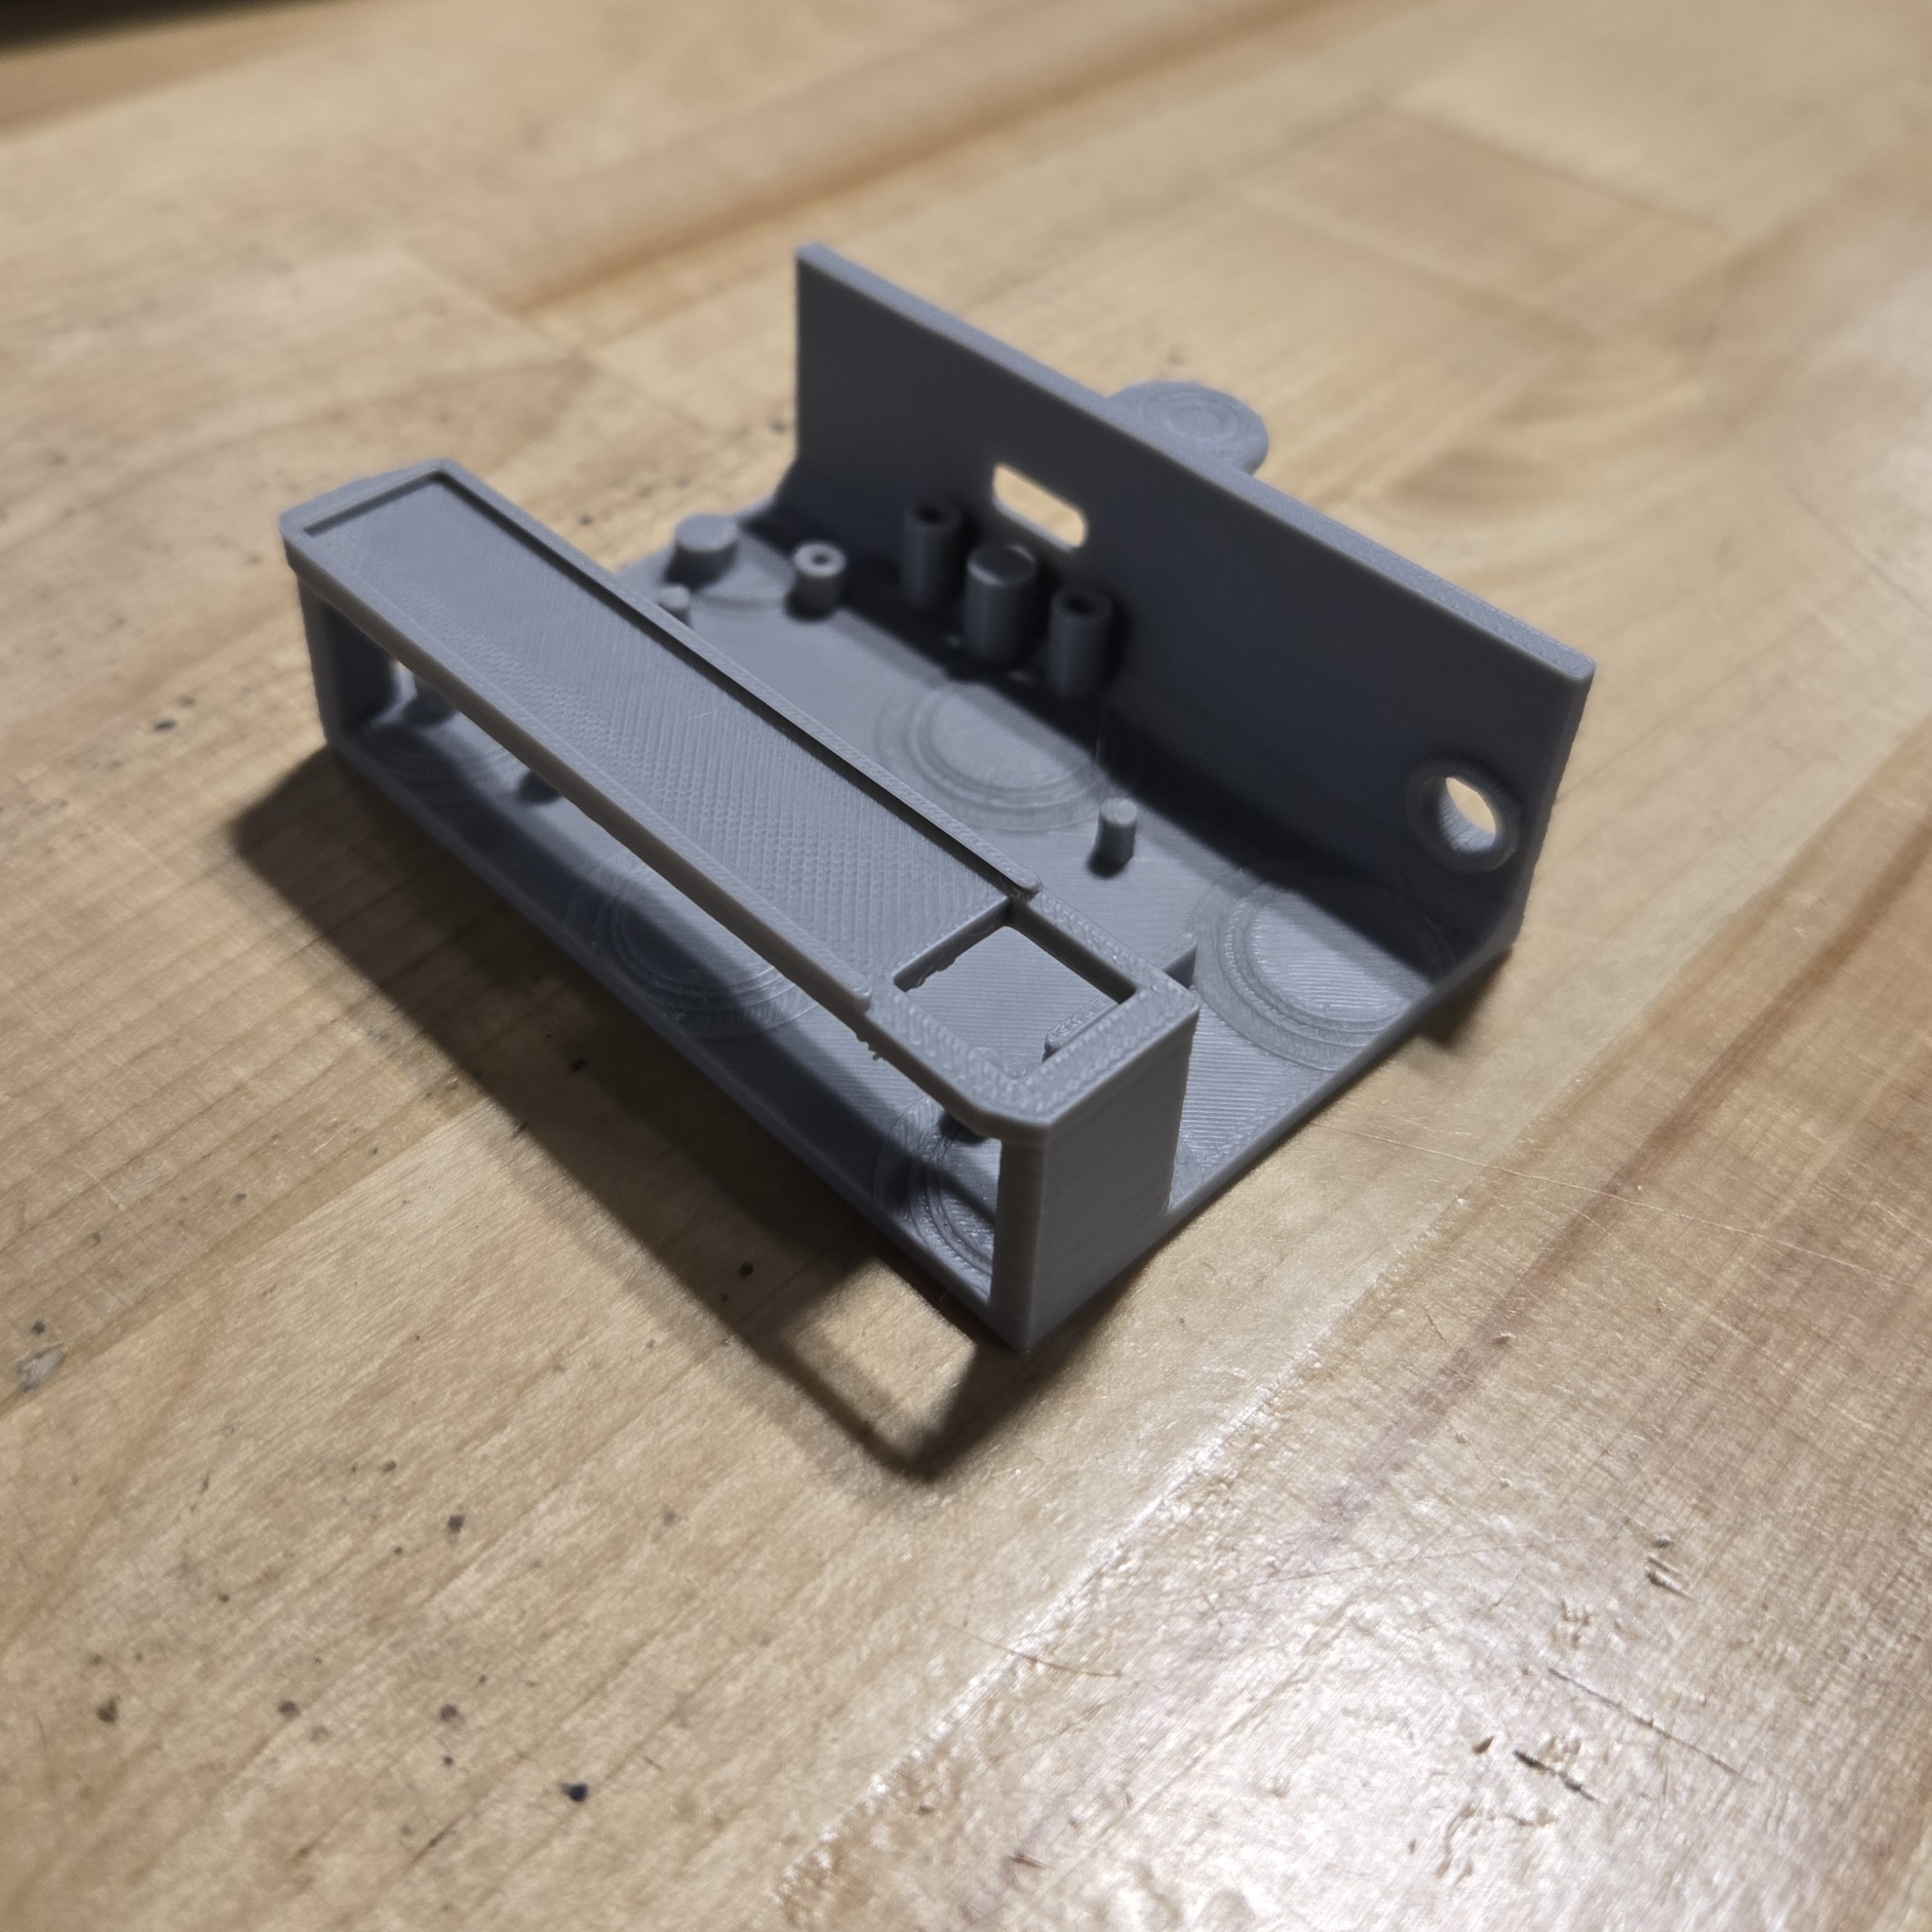
3D printed tray.
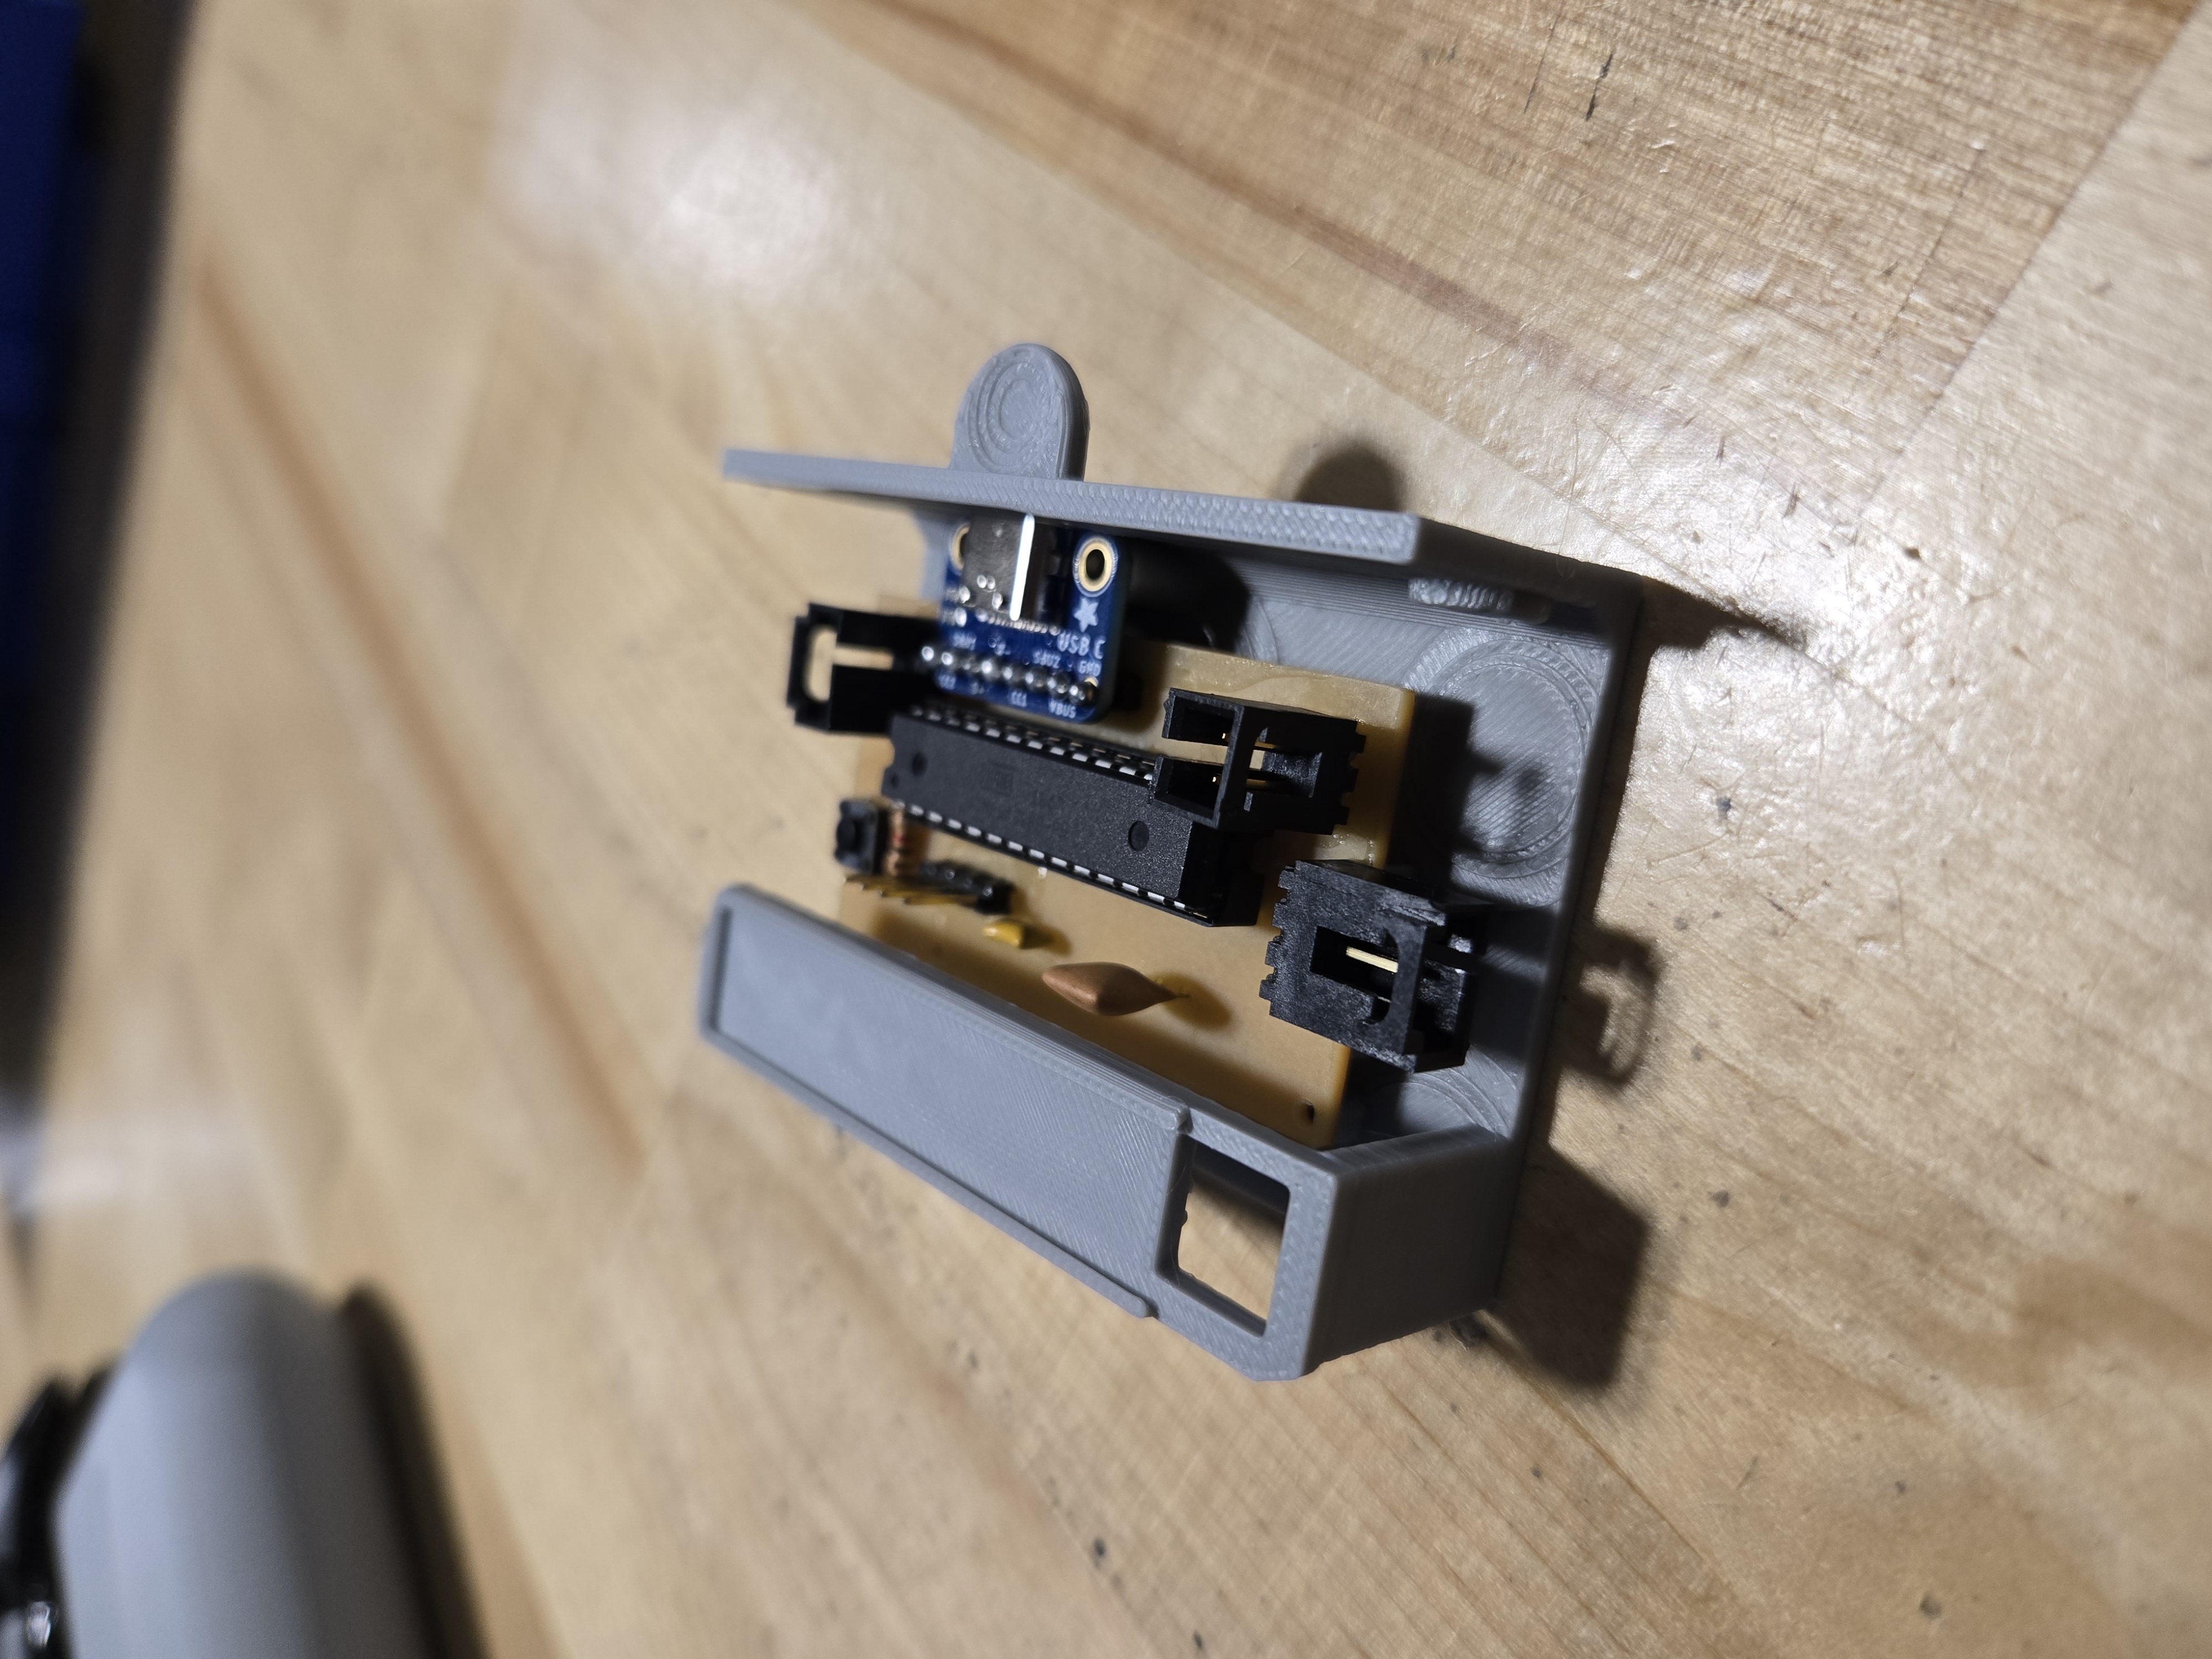
Tray assembly with PCB in place.
The Box and Magnets
The box printed nicely and the tray slides in and out smoothly. I’ve already glued the magnets into the base of the box. I’ll glue the matching magnets into the tray later to complete the magnetic closure.
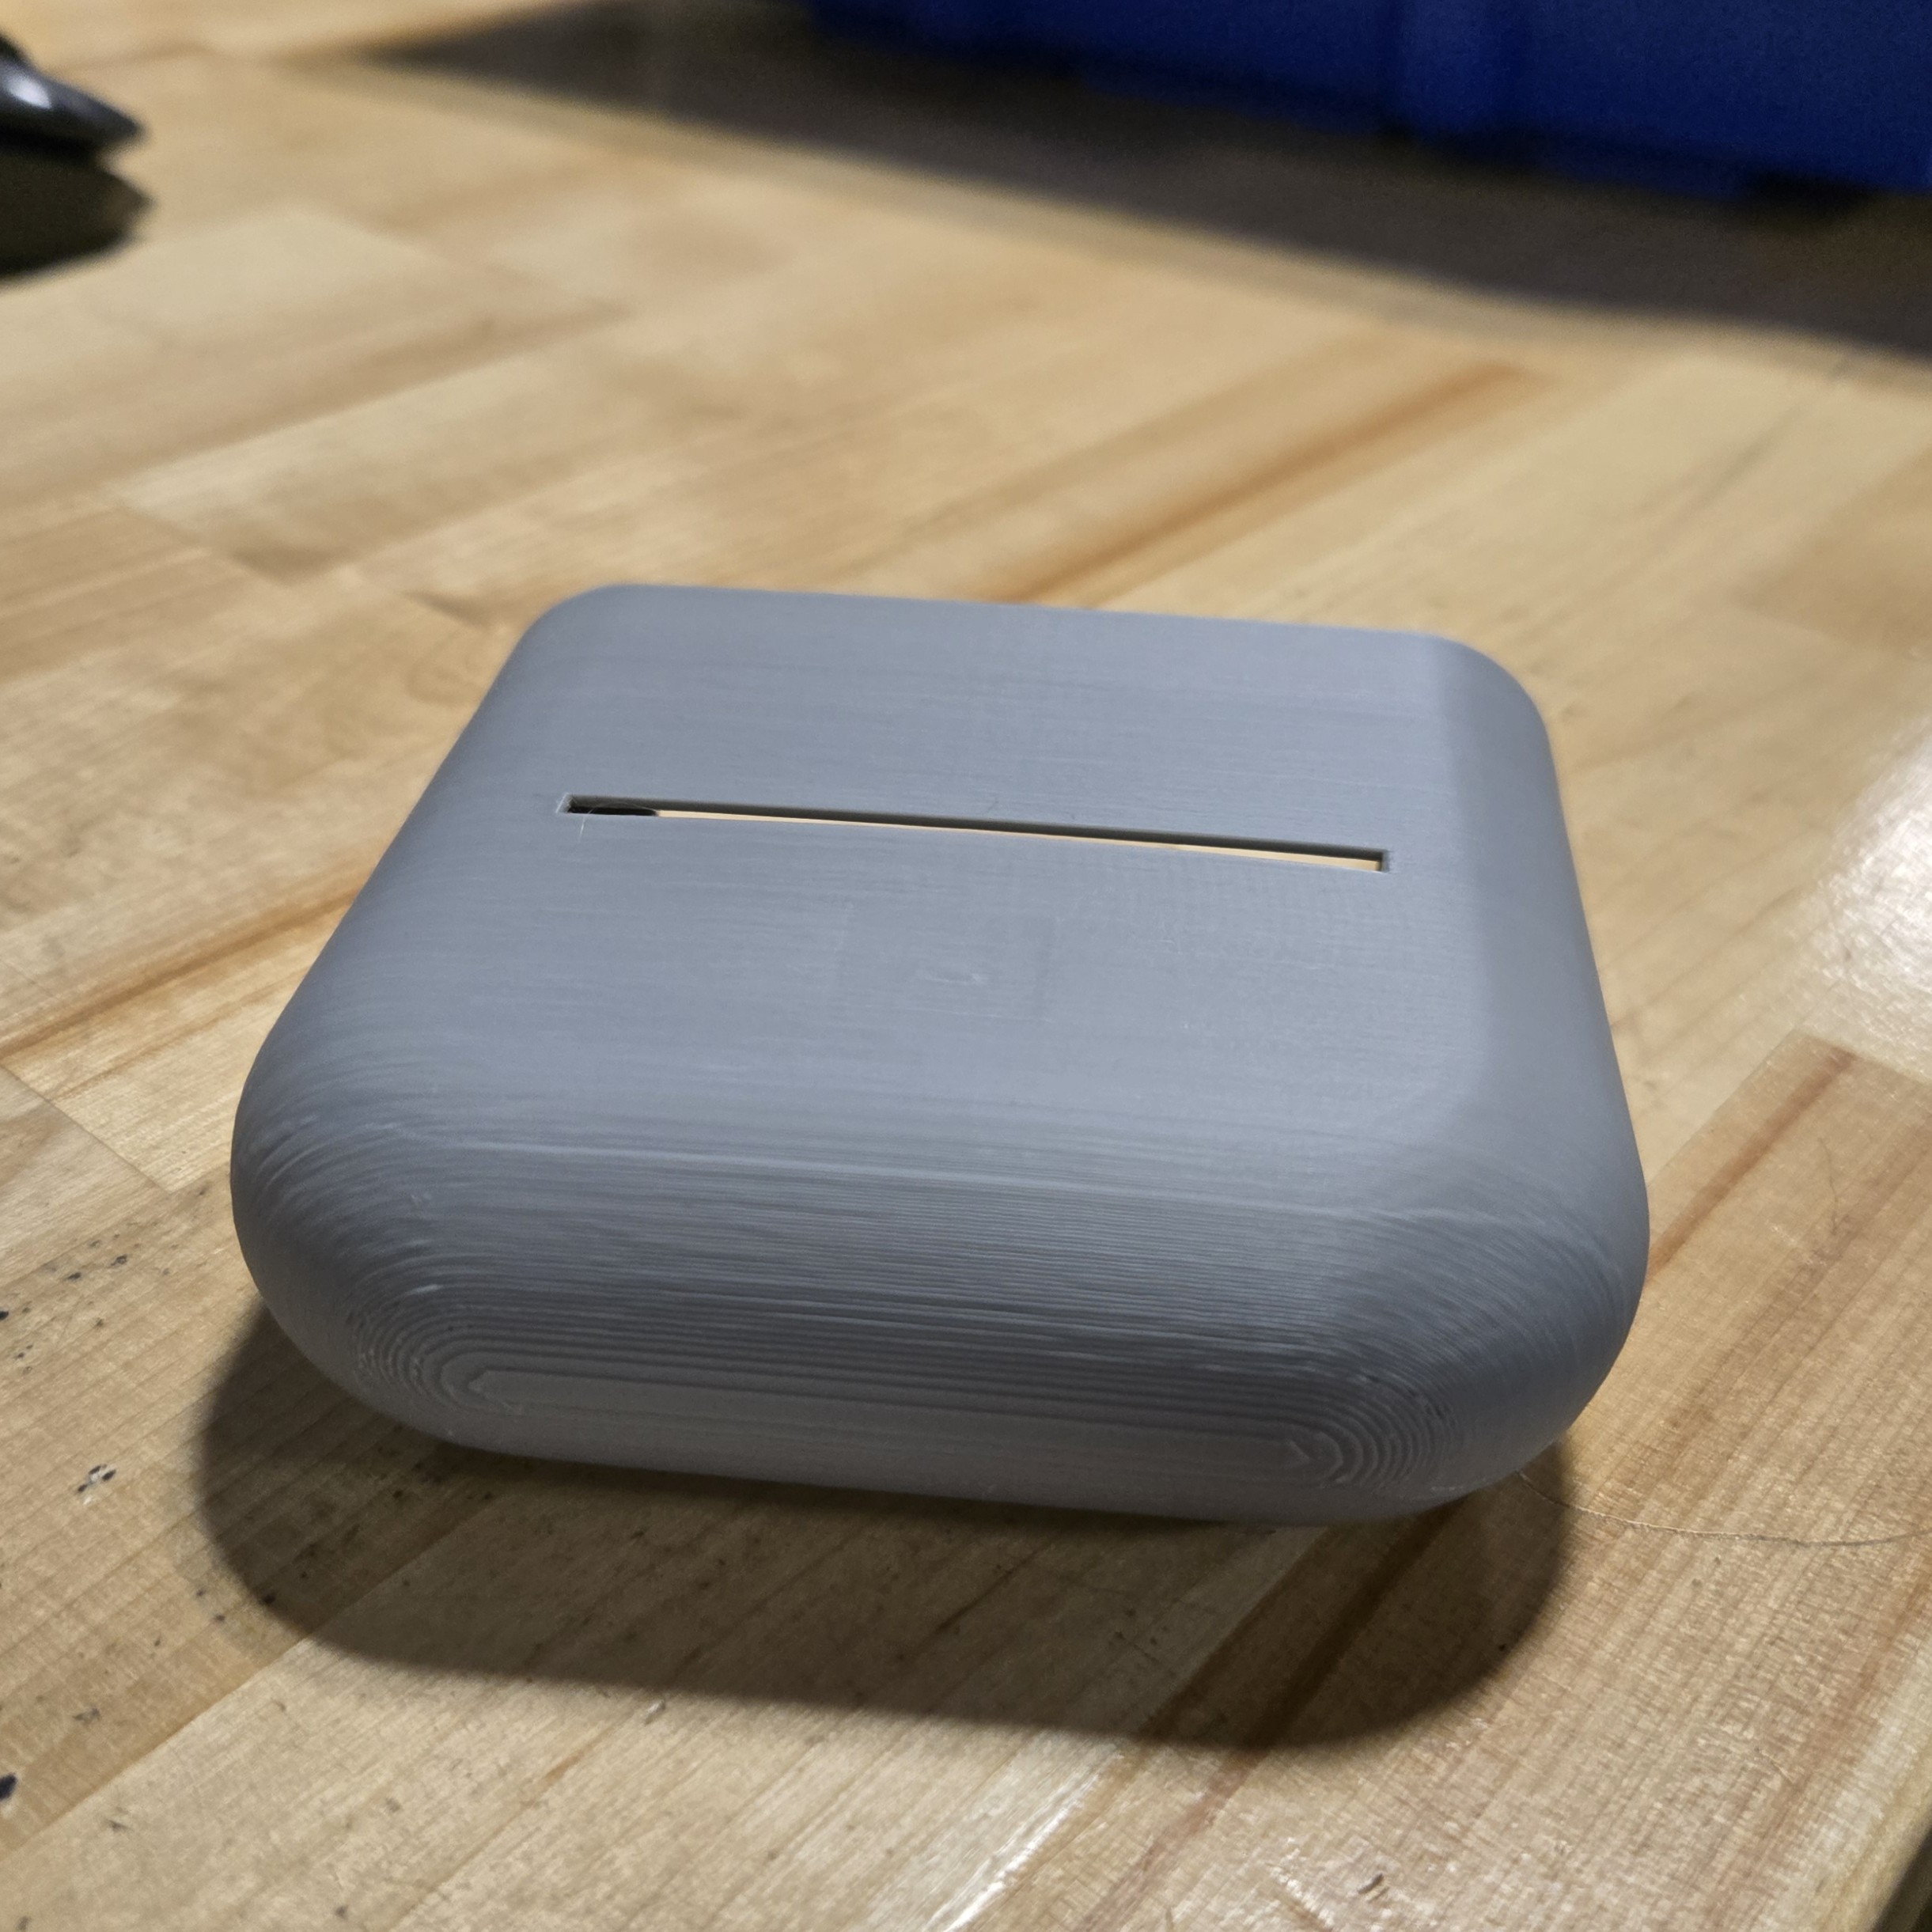
The printed box with magnets glued into the base.
Conclusion
Everything is coming together. The PCB works, the enclosure fits, and the tray system works exactly as designed. Next up is gluing the remaining magnets, wiring everything together, cutting the acrylic diffuser, and doing a final assembly with the Microsoft Edge logo.
See more of Ibrahim’s work at this link.
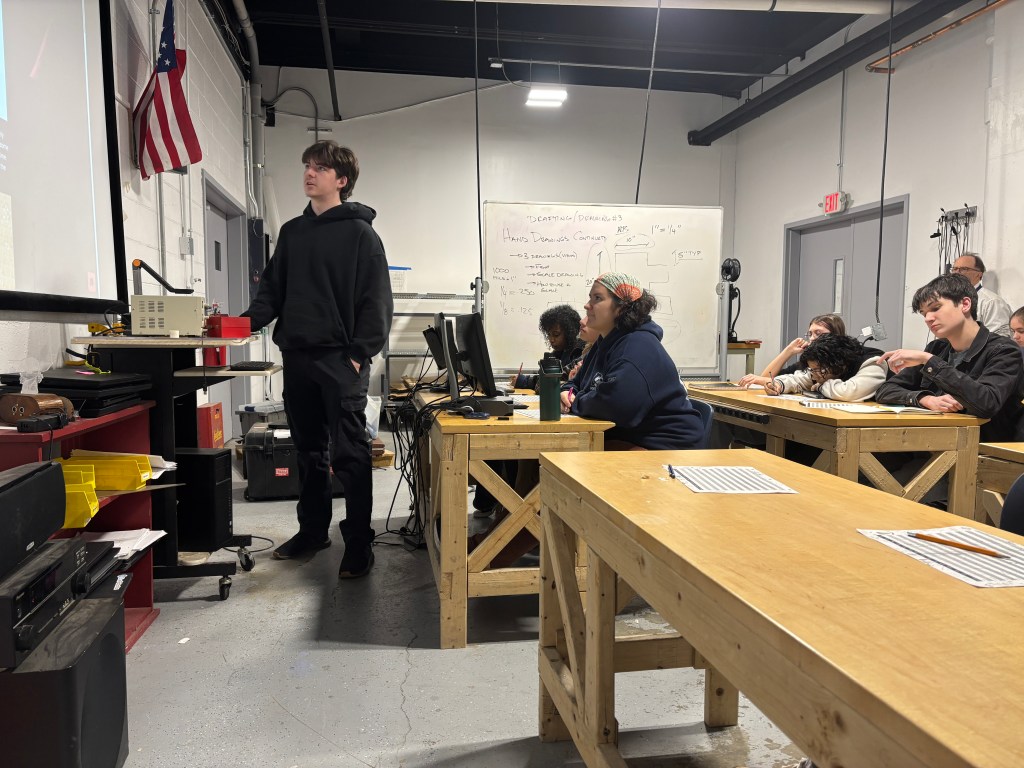
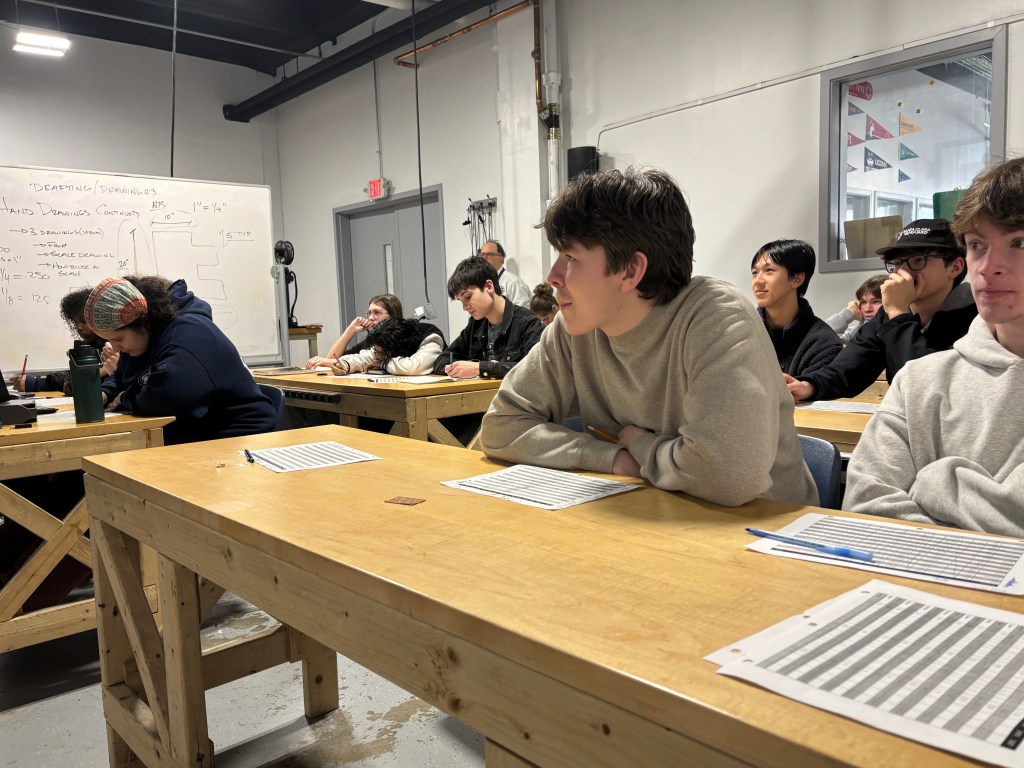
Our Freshmen continued with their hand drafting unit with Mr. L during the week, learning about T squares, triangles, and scale.
All for now!

You must be logged in to post a comment.