
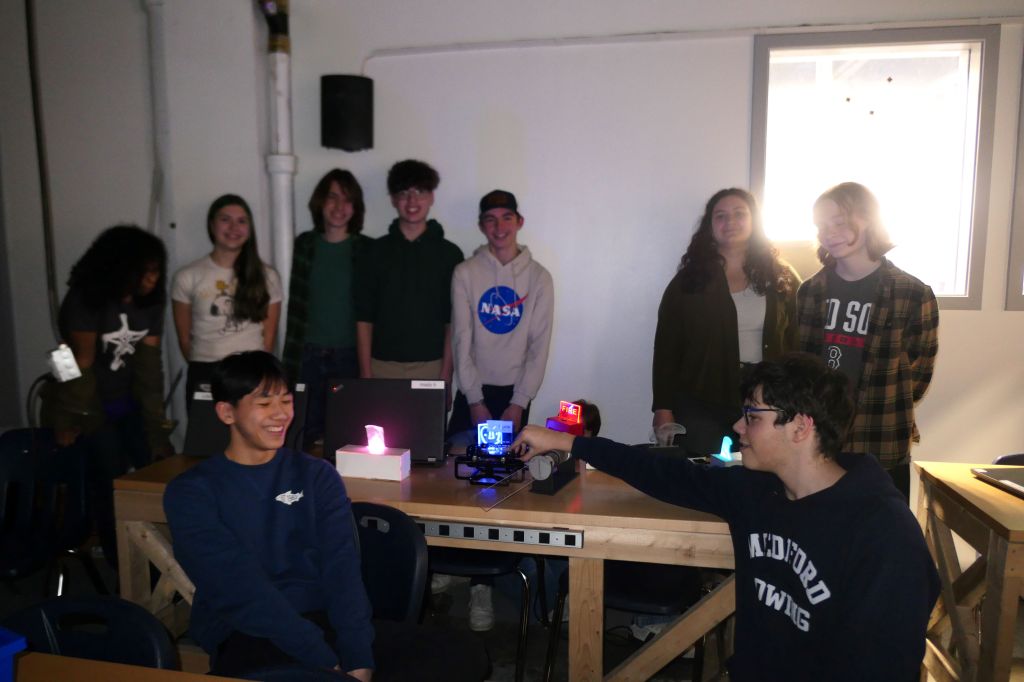
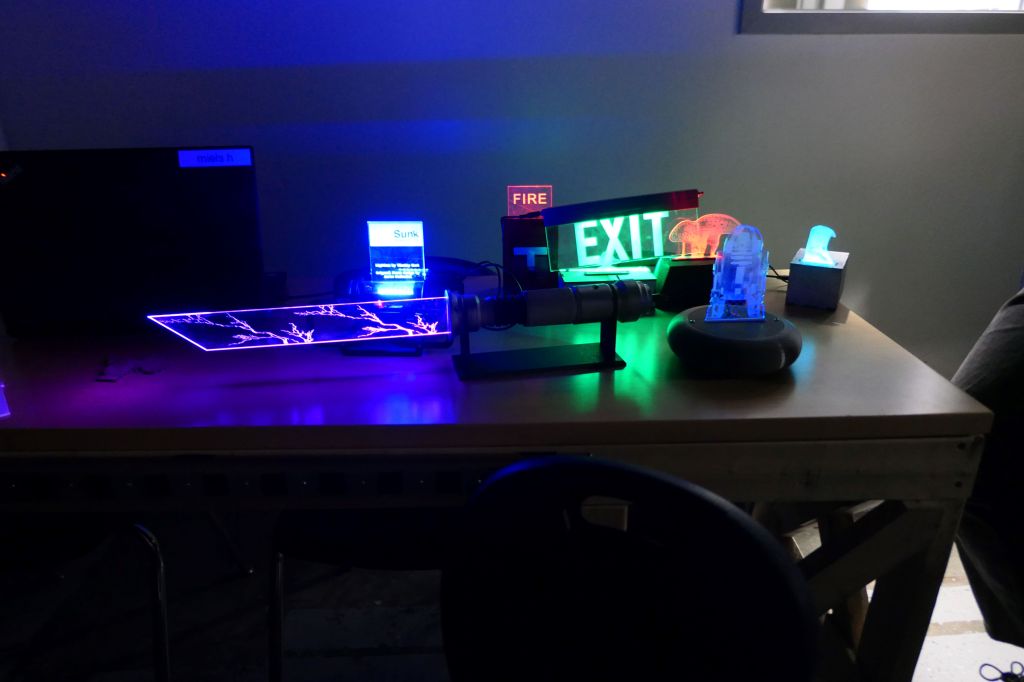
I hope everybody enjoyed some slightly warmer weather over the weekend. Gives us hope that warmer temperatures are prevailing, but reminds us that this year is moving by fast! Third quarter progress reports were sent out and that means only 1.5 quarters of school left. Our students are looking to make the most of it, working hard each day in shop.
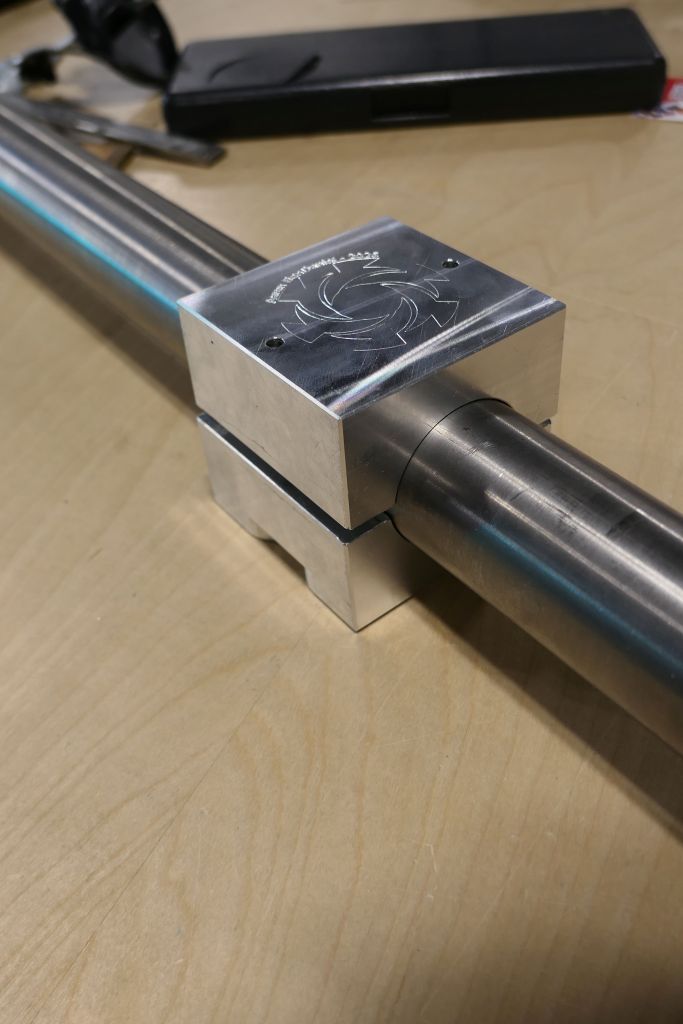
Senior Ben Wirz is working on a machined wallet:
Friday
On friday I was not in shop. I was at the regional science fair. We definitely didn’t win, but in my oppinion we had some of the best research there.
Monday
On Monday I decided to start a new project. A few of us watch the same machining guy in shop, Inheritance Machining. In one of his videos he makes a minimalist wallet. I really like the design so I decided to make one. Instead of using the manual mill like he does, I decided to do this with CNC. I bought and downloaded his plans and made a CAD model of the wallet. From here I was able to start on CAM
Tuesday
All of tuesday I was working on the cam file. Because the part is decorational for the most part, I wanted to make sure that all of the finishes on the part are nice and consistent. For this reason I did a roughing and finishing pass.
This is the most complex part that I have machined so far. It has lots of geometry on every side. This means that I have to flip it over and also use cnc for the back side. Now rezeroing the stock is difficult, so I decided to trim down the stock to its final dimensions. This means that I can indicate off of the stock that I held it by. This makes it significantly easier to indicate and reference the part for the second operation.
Wednesday
Wednesday was fixing a lot more CAM and buttoning it up, as well as a lot of machine setup. I machinined the stock to the right (more on that later) dimensions, as well as machining some softjaws. Our paralells are not tall enough to leave the desired amount of holding stock on the chucks. To solve this I just machined into the jaws. This made a horifying noise, but it did work. If I did this again, I would use a different endmill, because I used a bull nose endmill and the chamfers are difficult to work around.
Thursday
Thursday I had to make some slight adjustments because I made the stock the wrong dimensions. This shouldn’t affect anything but still a bit annoying. Then I ran the program. The roughing operation went really well. It was a brand new .5″ endmill which cut really nicely and quite fast. The finishing and chamfer passes on the other hand Were apparently 25 thou too deep. So far, none of us can figure out why. This means that after the roughing pass the part or something shifted. It wasn’t the tool, because the offset was accurate to the thou. I think its still salvageable if I knock 25 thou off the top.
See more on Ben’s website, linked here.
Junior Matt Stricker is finalizing his band machine:
This week I started by redesigning my band machine thing so that I could put bearings on it and also to make it a lot more stable. I also wanted to be able to put standoffs in between the two plates to give it extra stability and make sure that it can be sturdy enough for the high rpm. I designed most of what I wanted then I started to make it. I cut out the two acrylic plates and they came out perfectly. I used thicker acrylic this time, 1/4 in instead of 1/8 in. This added to the sturdiness and made sure that it would not break, and also it was to make it the same thickness as the bearings so they could be flush with it.
Then, I needed to pick out standoffs, I made the holes in the acrylic with m3 screws in mind but when I tried using the ones I had in mind for them, they didn’t work because they werent long enough so I needed to find other ones but thankfully I found ones that I could attach to each other so that I could have screws on either end which would make them long enough for the plates.
I put them together and it was very sturdy which is what I wanted. The standoffs were actually better than the ones before because they were a little bit thinner, so the cylinder would have more room nad I could make it a bit bigger before it would hit the sides. I also tested the bearings and they fit really well so I should be able to just add a little bit of glue and have them fit, but they are already a pretty tight fit so it should be okay. I also found a dowel that fit really well so I can base the cylinder width off that to find the perfect diameter so it won’t fall off when I attach it.
See more at Matt’s website, linked here.
Sophomore Sydney Hamel is working on the Sumobot project:
After completing my lightbox and getting it graded by the juniors and seniors on Monday, we began working on our Sumo Bots. For this project, we’re allowed to work with a partner, so Quinn and I decided to work together. I’m going to mainly be doing the electronics aspects while Quinn works on the CAD. I started off with following my teacher’s guides, which explain how to power the motors. I needed to learn how to use a wire the motor controller, MD17A. I had to connect a reference voltage so that I’m able to have the motors turn in different directions, depending on if the changing voltage is above or below the reference.
In order for the bot to not fall off the sumo ring, it needs to be able to detect the white line along the edge. To do this, I’m using a reflective sensor. It has an IR emitter IR receiver, emitting a different voltage depending on how much IR light is received. This information is then sent to my Metro Mini. From there, using ‘if’ commands, I’m able to have other components react to this information, such as the motors, changing the voltage from “HIGH” to “LOW” or vice versa, consequently changing the direction of the motors, or stopping them all together.
I learned different ways for transmitting this data to the Metro Mini, using digital vs analog ports vs a comparator. Currently, I’m using a comparator, however it is easy to switch between the three. Lastly, I learned how to use the Adafruit VL53L0X distance sensor. I had to download and then edit the sample code. Now my bot will be able to figure out how far away the other bot is, and in which direction, by sensing that there is something much closer than things outside of the Sumo Bot ring. In the next week or two I hope to be able to have a prototype that doesn’t fall off the sumo ring, showing that the code is working and giving us a solid base plan for the bot.
Follow Sydney’s project at this link.
The Freshmen learned how to 3D print this week, utilizing our new Bambu Lab X1 Carbon 3D printer. Each student was able to model a Lego Brick in CAD and print it out on the printer. They snapped together just like the real things!


You must be logged in to post a comment.