
This week we learned of our new incoming Freshmen to the shop. We will post more about our newbies next week!
As for our existing students, Senior Aaron BenDaniel was in the machine shop this week.
On Monday I finished up threading the holder, which ironically, was the perfect situation for a tap follower.
Once the holder was done, I turned the head, which was interesting because it features a taper that I had to cut with the lathe’s compound.
The head was a pretty simply part and I finished it quite quickly. With the head done, all the main parts of the Tap Follower were complete and I could assemble it.
Along the way, I discovered the most delightful behavior, when pulling a 0.413 inch gauge pin out from the body, it creates a good-enough seal to pull a vacuum and go *pop* when it’s released.
The final part for the Tap Follower is the spring. I had originally intended to wind my own spring, as I had been told that it wasn’t too hard. However, after a couple attempts, I didn’t really get anywhere and gave up. I will be buying a professionally made spring instead.
Despite my failures with winding my own springs, the second one I made worked… sort of. Ben got to try the tap follower out for a single thread before the spring was deformed too much and was rendered unusable. I think the springs I’m making are plastically deforming far too easily, and with springs I buy, I will be able to actually shop around for springs with suitable minimum lengths.
On Thursday, I didn’t have much to do because I needed to wait for my springs to be ordered, so I reorganized all of our resin printing stuff (while storing all the new stuff that arrived). The area underneath the resin printers is much cleaner now. I also spent quite a bit of time helping Tim thread some steel rods, and curiously, we were unable to. The die simply wouldn’t catch and I nor Mr. L could figure out why. I will probably assist Tim with cutting the threads on the lathe.
I also decided to start work on a hopefully short project from Mr. L to make some covers for the South Bend lathe’s ways. We’re going to buy some fabric bellows covers and I need to design a way to mount them on the lathe.
See photos and video of Aaron’s work on his website, linked here.
Junior Adam Lewis continues his work on the remote control car.
This week I spent almost all of my time doing research and trying different ways to control my PWM motor with the webserver. When I control the motors with just inputting keys into the command prompt it works great and I have even use it wirelessly. The problem was that I was trying to put both the code for the webserver and the motor control on the same piece of code so for the whole week I was struggling to find a way to do that.
The problem with using the two codes together was that to use the motor code I needed to use a loop that told the motors to move in a certain direction whenever I pressed a button, but the code for the webserver also needed to be in a separate loop that received the data that was being sent from the web server.
However, when I ran the two codes separately they both worked fine, so I decided to try running them both at the same time and this worked perfectly where I could have the camera footage on one monitor and the controls for the car on the other. Using the two pieces of code allowed me to control the car from across the shop and hopefully this will be able to extend to the entire school.
Now I am almost done with this project, all I have left to do is to integrate the steering of the car into the code for controlling the motors, mount the camera in a way so that it can stay attached and upright, and switch the WIFI of the Raspberry pi so that it is connected to the regular school WIFI.
Please take a look at Adam’s website for photos and video, linked here.
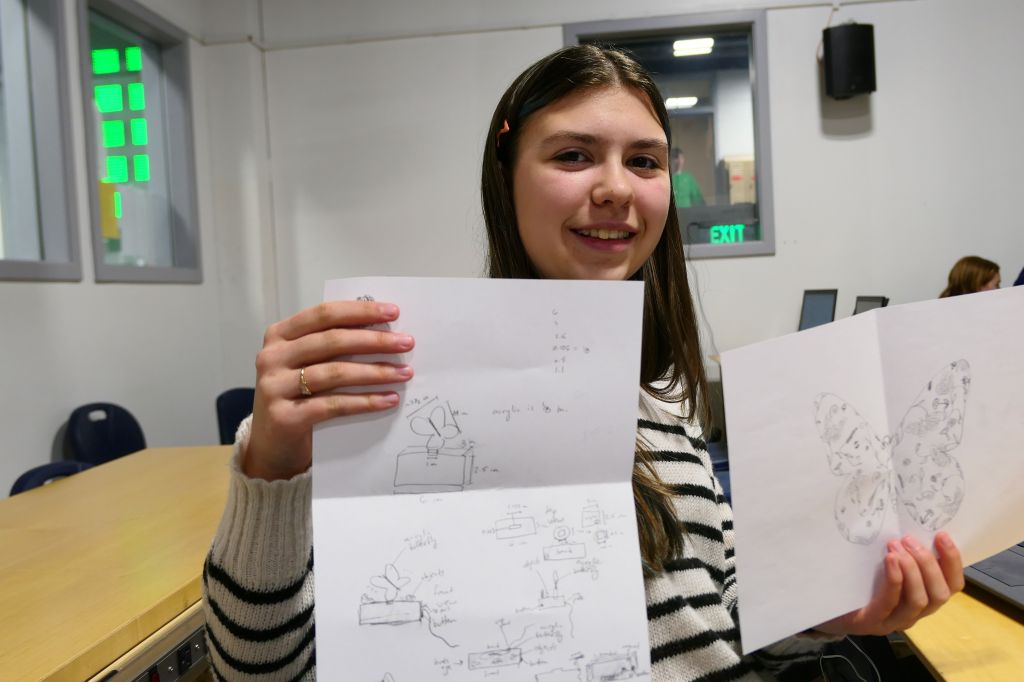
Sophomore Lila Graham is getting close to finishing her LED Light Box.
This week I continued working on the lightbox. At this point I am preparing for the creation and assembly of the physical components. I added a slot for the acrylic piece and holes for the button and cord to go to. These were set as parameters because I was unsure of how big they needed to be.
I cut out the test with cardboard for the acrylic piece I am using. I anticipated there being room for more LEDs, but it turned out to only be able to fit a few. I edited it to have a larger space at the bottom to fit more LEDs, so the final acrylic should be more light-uppish.
Once I knew how big my acrylic piece should be, I changed the measurement for the slot in my lightbox design. I also measured the button and cord that will be used in the lightbox, so I clarified those parameters as well. The only thing left to do for the lightbox design is to add a loft-type piece inside to hold the acrylic and the LEDs.
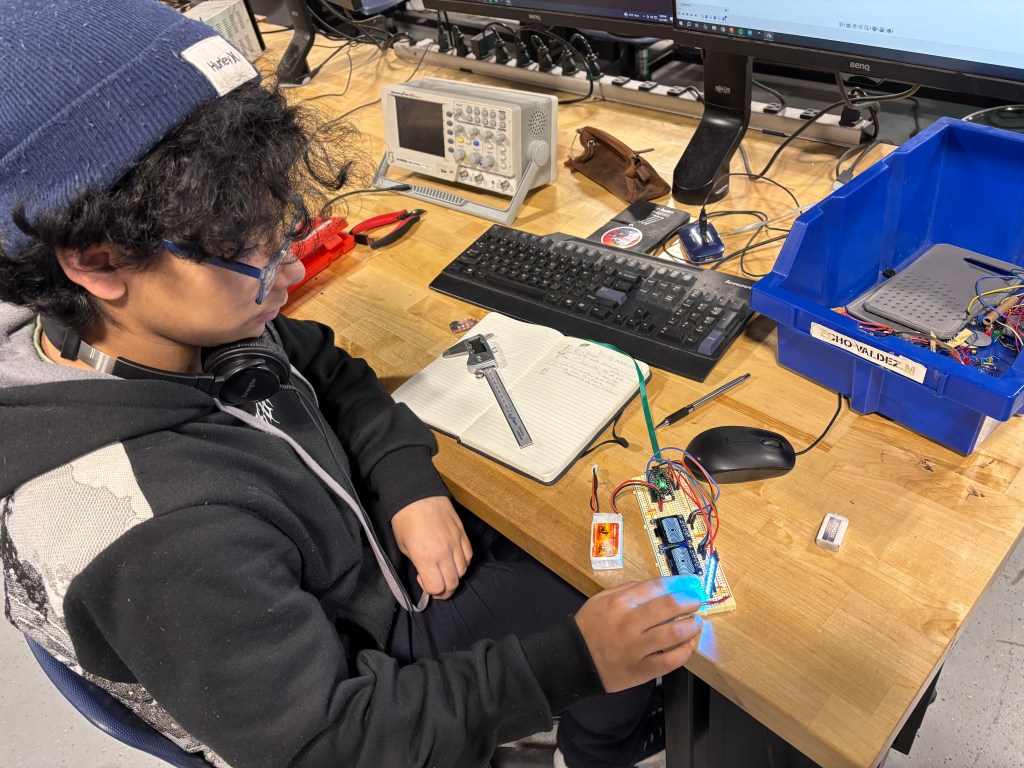
I also milled my PCB board this week, which is the first PCB I have made. It is a little big, but it should fit in my lightbox so it should turn out fine. I also later realized that all but one of the pins on one side of the ATMEGA are too close to those on the other side, so I have to fix that and then mill it again, but what’s a first attempt if not deficient in some way?
Read more about Lila’s progress on her website, linked here.
All for now, thanks for reading!


You must be logged in to post a comment.